This post may contain affiliate links. Please read our disclosure policy.
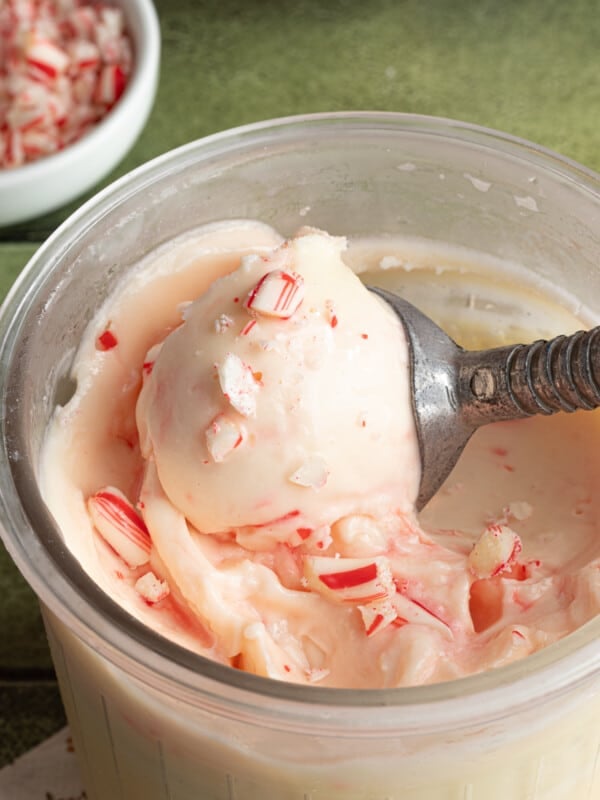
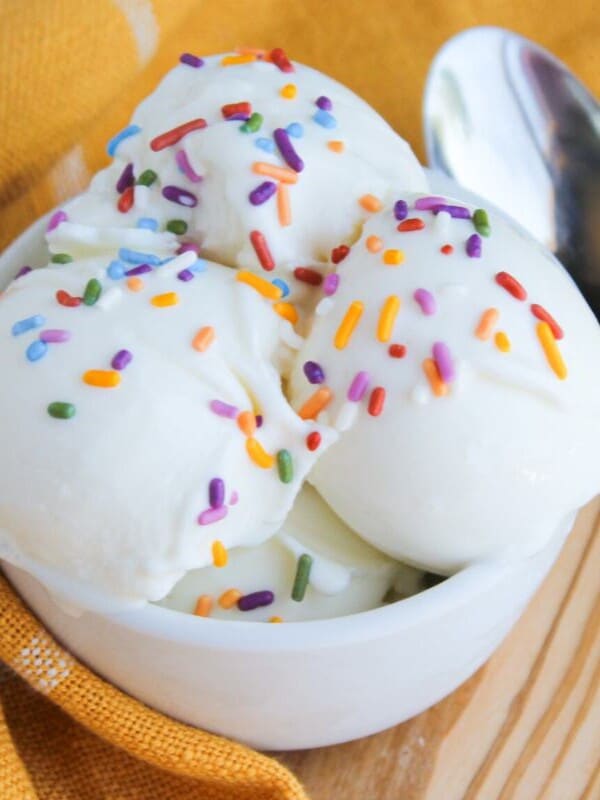
This Ninja Creami vanilla ice cream is incredibly creamy, just sweet enough and the perfect base for your favorite mix-ins. It’s the perfect lightened up creamy treat for the next time you’re craving classic vanilla ice cream.

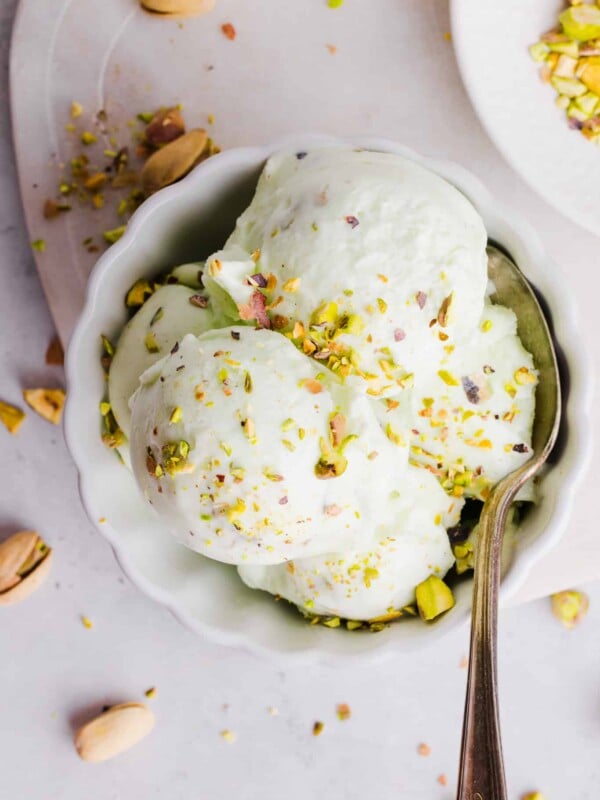
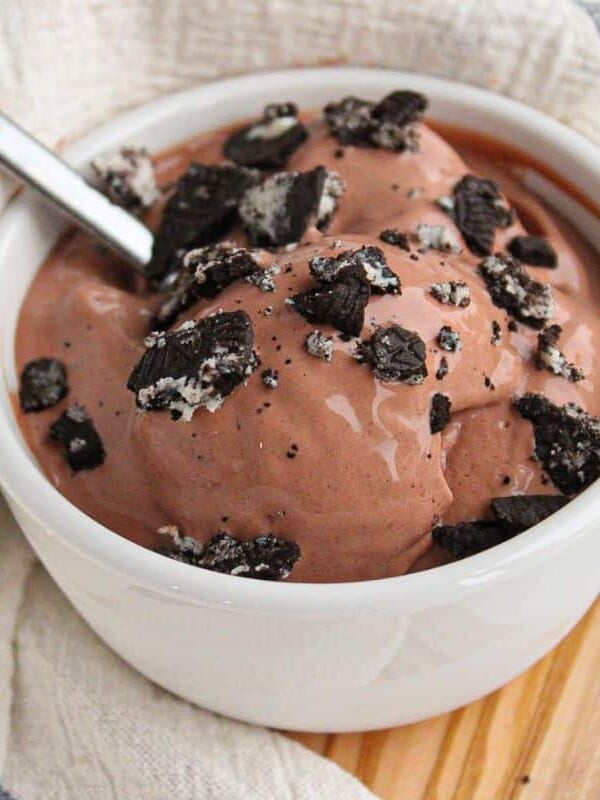
Just like my classic Ninja Creami Chocolate Ice Cream and Ninja Creami Strawberry Ice Cream recipes, this delicious ice cream is the perfect lightened up dessert when you’re craving a sweet treat.
And the best part? It’s so easy to make! It only takes a few minutes of prep and it’s ready to freeze before using your Ninja Creami Ice Cream Maker to churn out perfection. Your whole family will love this one!
Your New Go-To Ninja Creami Vanilla Ice Cream Recipe
Here are just a few reasons you’re going to love it:
- The perfect ice cream base. This ice cream is a blank canvas for your favorite toppings and mix-ins. Swirl in some chocolate sauce, add crushed Oreos, or even chopped fresh fruit. Check out “Variation Ideas” for inspiration.
- Lighter, but still so good. Unlike traditional ice cream, this one is made with low-fat dairy and way less sugar- but still delivers the creamy texture and rich taste of traditional homemade vanilla ice cream.
- SO easy to make. Making ice cream has never been easier! With just a few minutes of prep time and basic ingredients, the Ninja Creami machine basically does all the work! The hardest part is practicing patience while the ice cream base freezes for 24 hours.

What You’ll Need
You’ll only need 4 simple ingredients to make this easy vanilla ice cream. Here they are (you’ll find precise measurements in the recipe card below):
- 2% milk – You can use whole milk for a richer ice cream, but the Ninja Creami does a great job of turning lower-fat dairy into a luxurious, creamy masterpiece. I love Fairlife milk best, but any works.
- Heavy cream – Regular ice creams use a lot of cream. This one uses just a splash for that classic rich and creamy ice cream texture.
- Vanilla pudding mix – Instant pudding mix contributes vanilla flavor and some sweetness. It also works to thicken the ice cream, yielding the perfect texture.
- Vanilla bean paste – Or vanilla extract for that classic vanilla ice cream flavor.

Variation Ideas
With its neutral flavor profile, this vanilla ice cream is highly customizable. Here are some fun ideas for you:
- Pudding swap. If you want to add a hint of something other than vanilla flavor to this ice cream, go ahead and use a different flavor of pudding mix. Butterscotch, cheesecake or banana would be delicious!
- Add your favorite mix in. This ice cream makes for a fabulous neutral base for any mix ins you’d like. Just make a well in the ice cream (after respinning) and add a handful of chocolate chips, cookie dough, or whatever you love. Run the Ninja Creami on mix-in mode, and you’re all set!
- Have fun with toppings. Whether it’s chocolate sauce, Pumpkin Spice Sauce, rainbow sprinkles, or a dollop of Raspberry Chia Jam, this vanilla ice cream loves a topping or two.
- High protein. Add a scoop of protein powder for a higher protein content, or just make my Ninja Creami Protein Ice Cream!
How to Make Ninja Creami Vanilla Ice Cream
Here’s a basic overview of how to make this simple recipe in your Ninja Creami machine. For more detailed instructions, scroll to the recipe card below.

- Mix. Mix all ingredients together in the Ninja Creami pint container and secure the lid.

- Freeze. Freeze the ice cream base for 24 hours.

- Ice cream mode. Put pint container in Ninja Creami Ice Cream Machine and run lite ice cream mode x1.

- Respin mode. Run respin mode x2.
My Pro Tips
Tips for Success
Ready for some pro tips that’ll help you achieve the best results?
- Get the texture right. If the ice cream mixture is still crumbly after running it on respin mode, add a tiny splash of milk and spin again. Repeat as needed.
- Taste as you go. Taste preferences vary, and while I think this ice cream is sweet enough as is, I encourage you to taste it before freezing. You can add 1-2 tsp of honey, maple syrup, or sugar if you’d like.
- Don’t skimp on freezing time. The ice cream base needs at least 24 hours in the freezer before you run it through the Ninja Creami…unless you want a runny, slushy-like ice cream.
- No ingredient left behind. After running the Ninja Creami on ice cream mode, scrape down the sides of the pint container with a spoon. This will help ensure a smooth, even-textured ice cream.

How to Store
If, by some miracle, you find yourself with leftover ice cream, seal them in your Ninja Creami container (lid on) or transfer the ice cream to any airtight, freezer-safe container. You can store it in the freezer for up to one week.
When it’s time to enjoy, let the ice cream sit out at room temperature for a few minutes to soften.
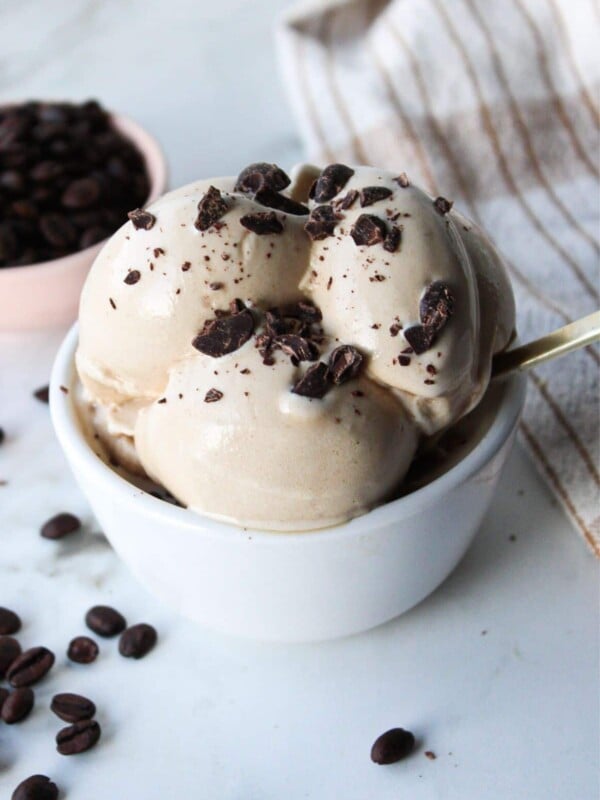
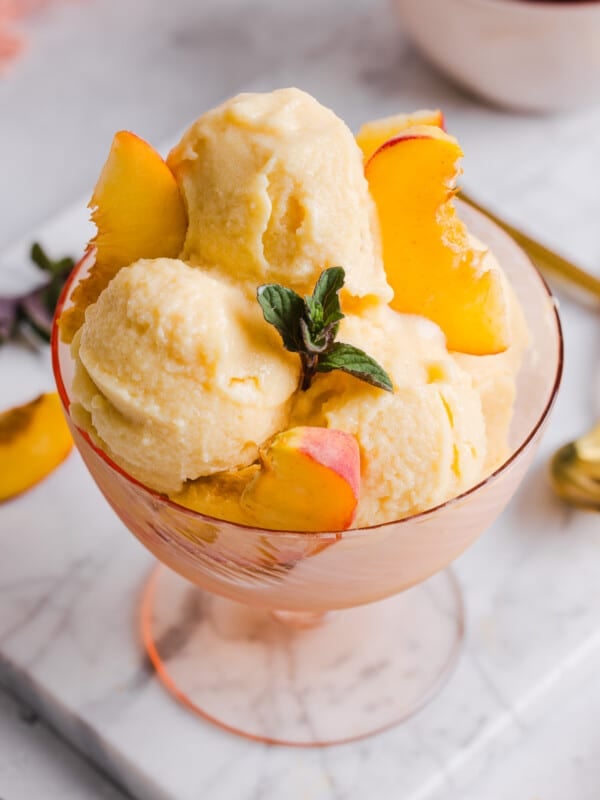
More Ninja Creami Recipes

Ninja Creami Vanilla Ice Cream
Equipment
- Ninja Creami Ice Cream Machine
Ingredients
- 1 ¾ cup 2% milk
- 2 tbsp heavy cream
- 2 tbsp vanilla pudding mix
- 1 tsp vanilla bean paste or extract
Instructions
- Add all ingredients to the Ninja Creami pint container and mix thoroughly. *I recommend taste testing at this step to make sure that your mixture is sweet enough for you. If needed, add 1-2 tsp of additional sweetener like table sugar, honey or syrup.
- Cover with lid and freeze for 24 hours on a level surface.
- Run lite ice cream mode x1. Scrape down the sides of the pint container with a spoon.
- Run respin mode x2. If the mixture is still crumbly at this point add a very small splash of milk and spin a final time.
Notes
- Get the texture right. If the ice cream mixture is still crumbly after running it on respin mode, add a tiny splash of milk and spin again. Repeat as needed.
- Taste as you go. Taste preferences vary, and while I think this ice cream is sweet enough as is, I encourage you to taste it before freezing. You can add 1-2 tsp of honey, maple syrup, or sugar if you’d like.
- Don’t skimp on freezing time. The ice cream base needs at least 24 hours in the freezer before you run it through the Ninja Creami…unless you want a runny, slushy-like ice cream.
Nutrition
Nutrition information is automatically calculated and should only be used as an estimate.