This post may contain affiliate links. Please read our disclosure policy.
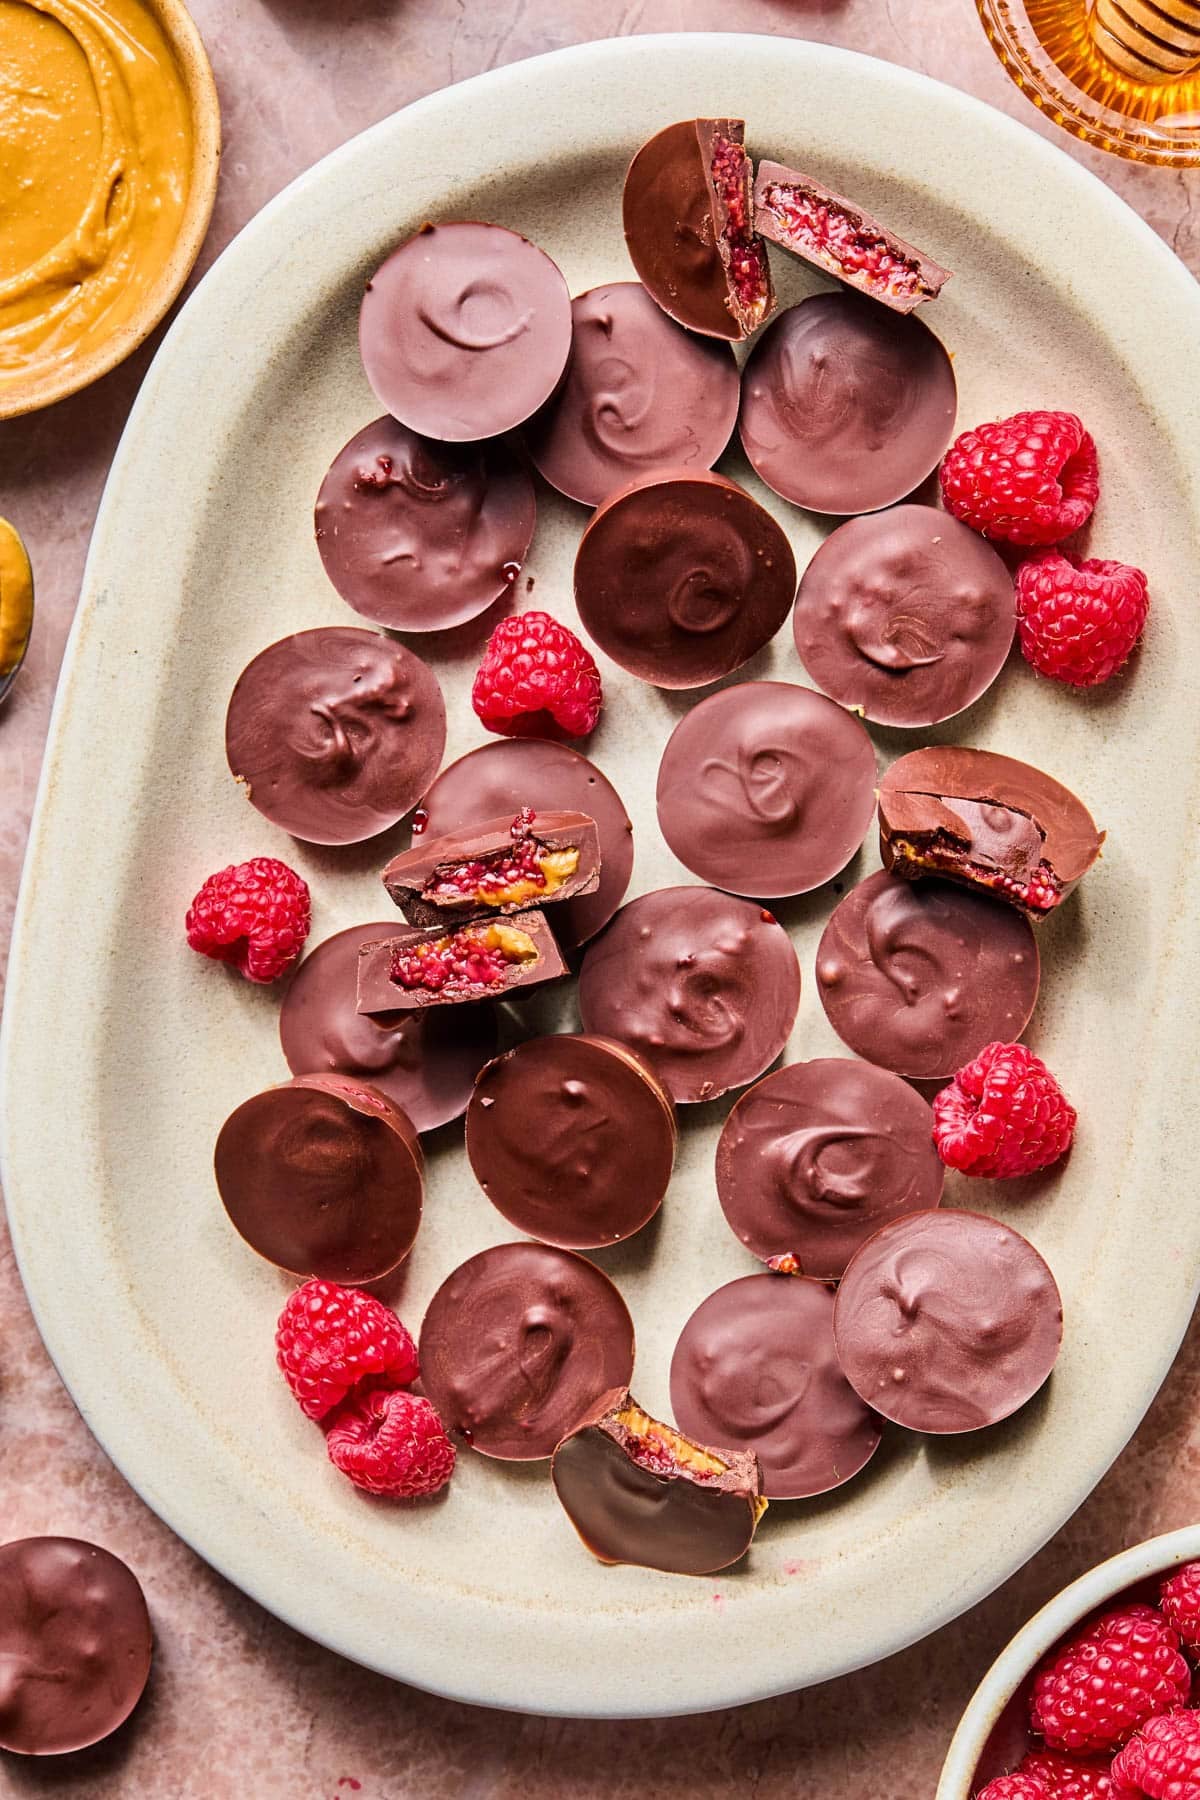
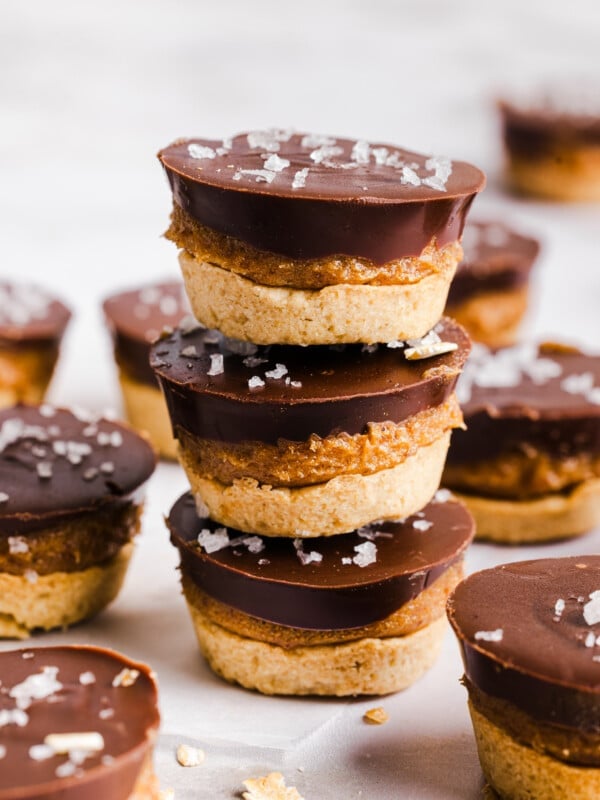
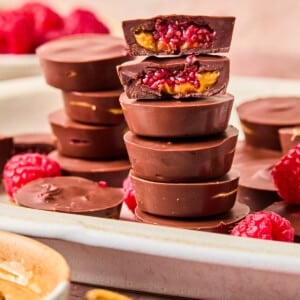
These peanut butter and jelly cups are a fun homemade twist on the classic flavor combination, made with layers of chocolate, creamy peanut butter, and a simple chia jam filling. Made with simple, wholesome ingredients, and naturally sweetened jam, they’re an easy no-bake treat.
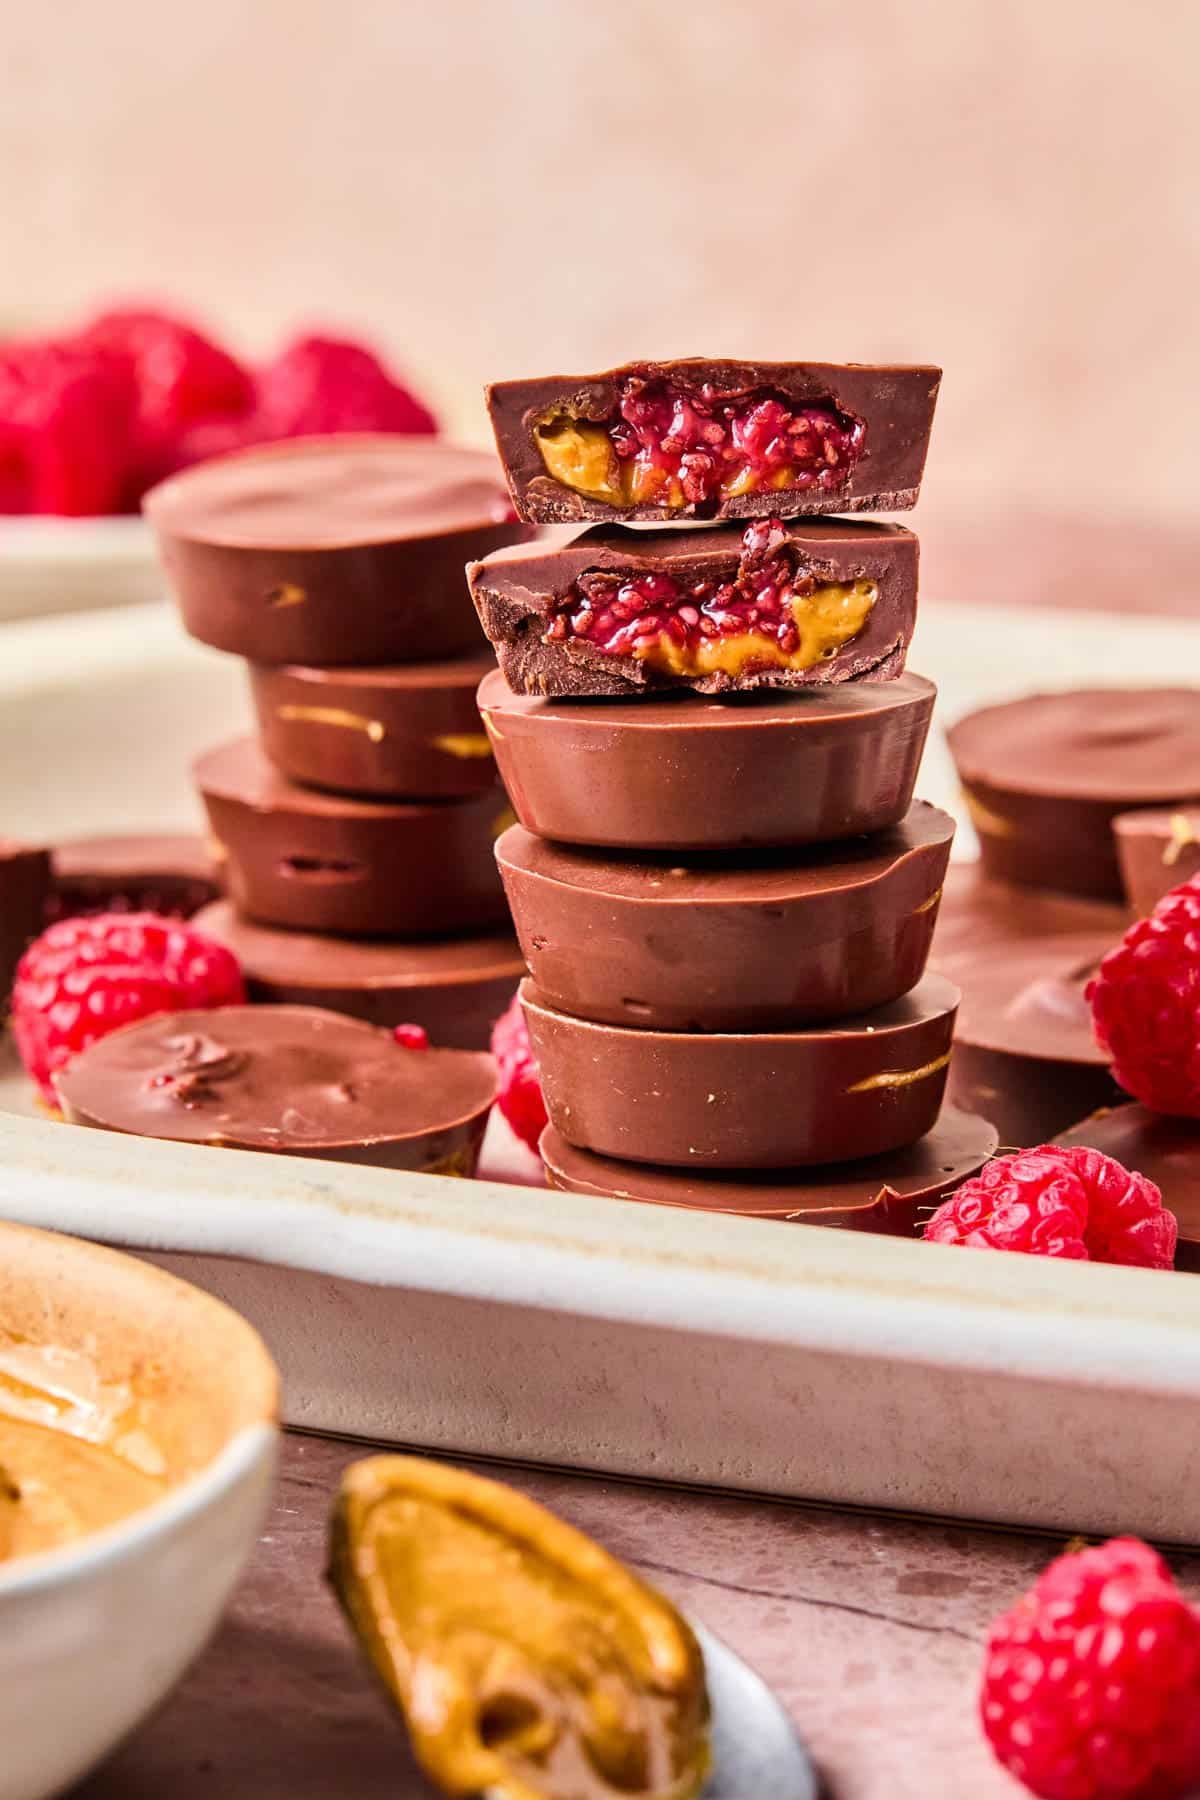
Unlike overly sweet store-bought peanut butter cups, these peanut butter jelly cups have a richer chocolate flavor, creamy peanut butter center, and homemade raspberry chia jam that gives them a fresher, more balanced flavor.
I love keeping a batch in the fridge for an easy sweet treat that actually feels satisfying. If you love them, you will also love my No Bake Peanut Butter Oat Cups and No Bake Peanut Butter Pretzel Bites. All no-bake, packed with peanut butter, and made with just a few ingredients.
Why You’ll Love Them
There’s something about the combination of chocolate, peanut butter, and jam that just works every single time. These homemade peanut butter cups feel nostalgic and fun, but the homemade chia jam and simple ingredients make them feel more balanced than your average peanut butter cup. Great for pb&j fans!
- Rich chocolate + creamy peanut butter. They have that classic peanut butter cup feel, but with extra flavor from the jam filling.
- Made with homemade chia jam. The raspberry chia jam adds naturally sweet flavor and a boost of fiber.
- Made with simple wholesome ingredients. These cups are naturally sweetened and made with simple ingredients you probably already have on hand.
- Easy no-bake treat. No oven needed, just a few simple steps, and some chill time. They’re so easy!
- Perfect to keep in the fridge or freezer. They’re great for an easy dessert, afternoon snack, or something sweet after dinner.
- Sweet and snackable without being overly heavy. The balance of chocolate, peanut butter, and fruit makes them rich enough to feel like dessert while still feeling fresh.
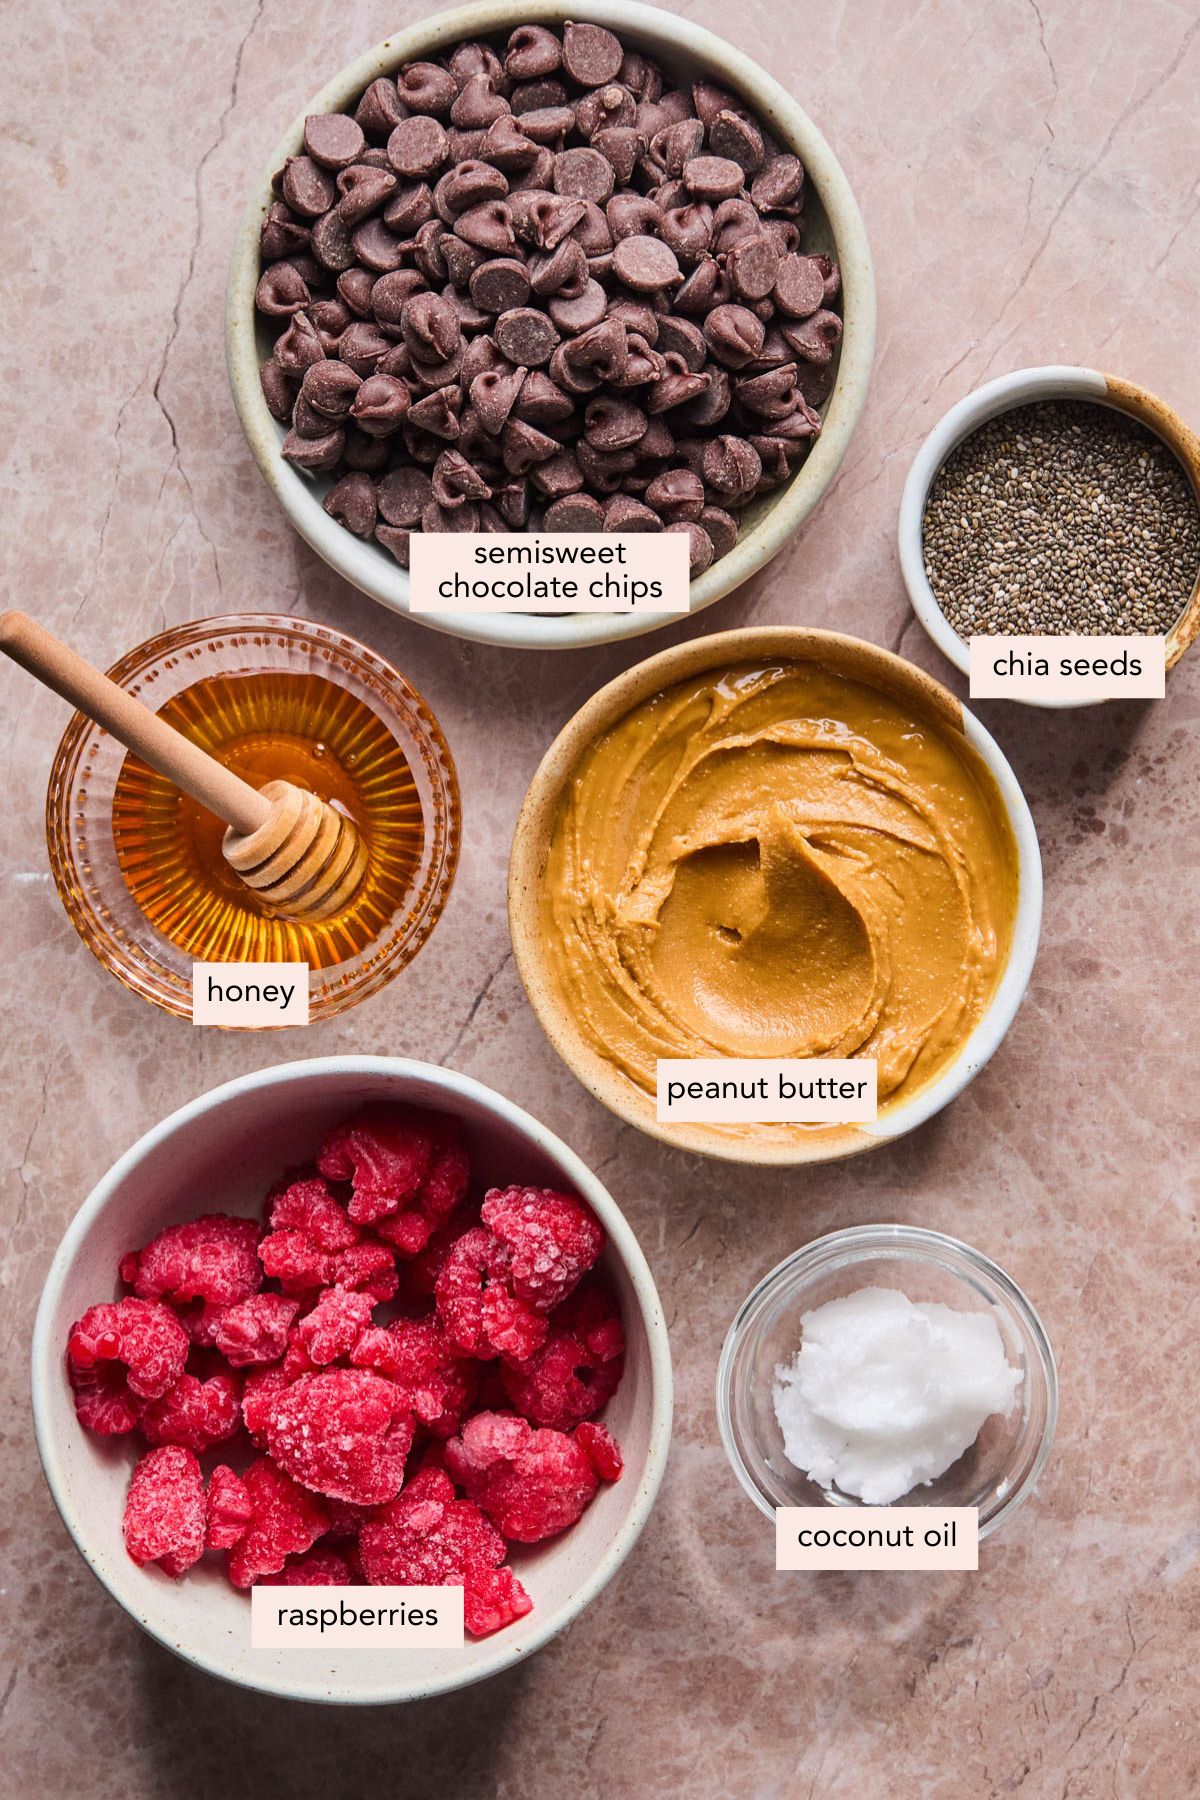
Ingredient Notes
You’ll just need 6 ingredients for these homemade peanut cups with jelly!
For full recipe instructions and complete list of ingredients, scroll down to the recipe card at the bottom of this page.
- Raspberries: Fresh or frozen raspberries both work well for the jam filling. Frozen raspberries break down especially easy to create a soft, jammy texture.
- Chia seeds: Help naturally thicken the jam while adding a little texture and fiber.
- Honey or maple syrup: Adds a subtle sweetness to the jam filling. You can adjust depending on how sweet or tart your berries are.
- Peanut butter: Creamy peanut butter works best.
- Chocolate chips: Semisweet chocolate keeps the cups rich without making them overly sweet. Dark chocolate also works well. Use good-quality chocolate if possible.
- Coconut oil: Helps the chocolate melt smoothly and creates a softer bite once chilled.
Variations to Try
- Strawberry PB&J cups. Swap the raspberries for strawberries.
- Dark chocolate PB&J cups. Use dark chocolate chips for a richer chocolate flavor that pairs especially well with the jam filling.
- Crunchy peanut butter cups. Use crunchy peanut butter for a little extra texture and crunch.
- Almond butter and jelly cups. Swap the peanut butter for almond butter or cashew butter for a different flavor.
- Sea salt topping. Sprinkle flaky sea salt on top before chilling to balance the sweetness and enhance the chocolate flavor.
- Peanut butter drizzle. Drizzle melted peanut butter over the tops before serving for an extra peanut buttery finish.
- Store-bought jam. You can use store-bought raspberry preserves or jam to make it even easier, if desired, but you will lose some of the benefits of the homemade jam, like higher fiber and crunch from the chia, and no refined sugar.
How to Make Peanut Butter and Jelly Cups
These homemade chocolate cups come together in just a few steps to create the perfect make ahead dessert.

- Make the jam: Add the raspberries and honey to a medium saucepan over medium heat. Bring to a simmer and cook, stirring constantly for 5 minutes to prevent burning.
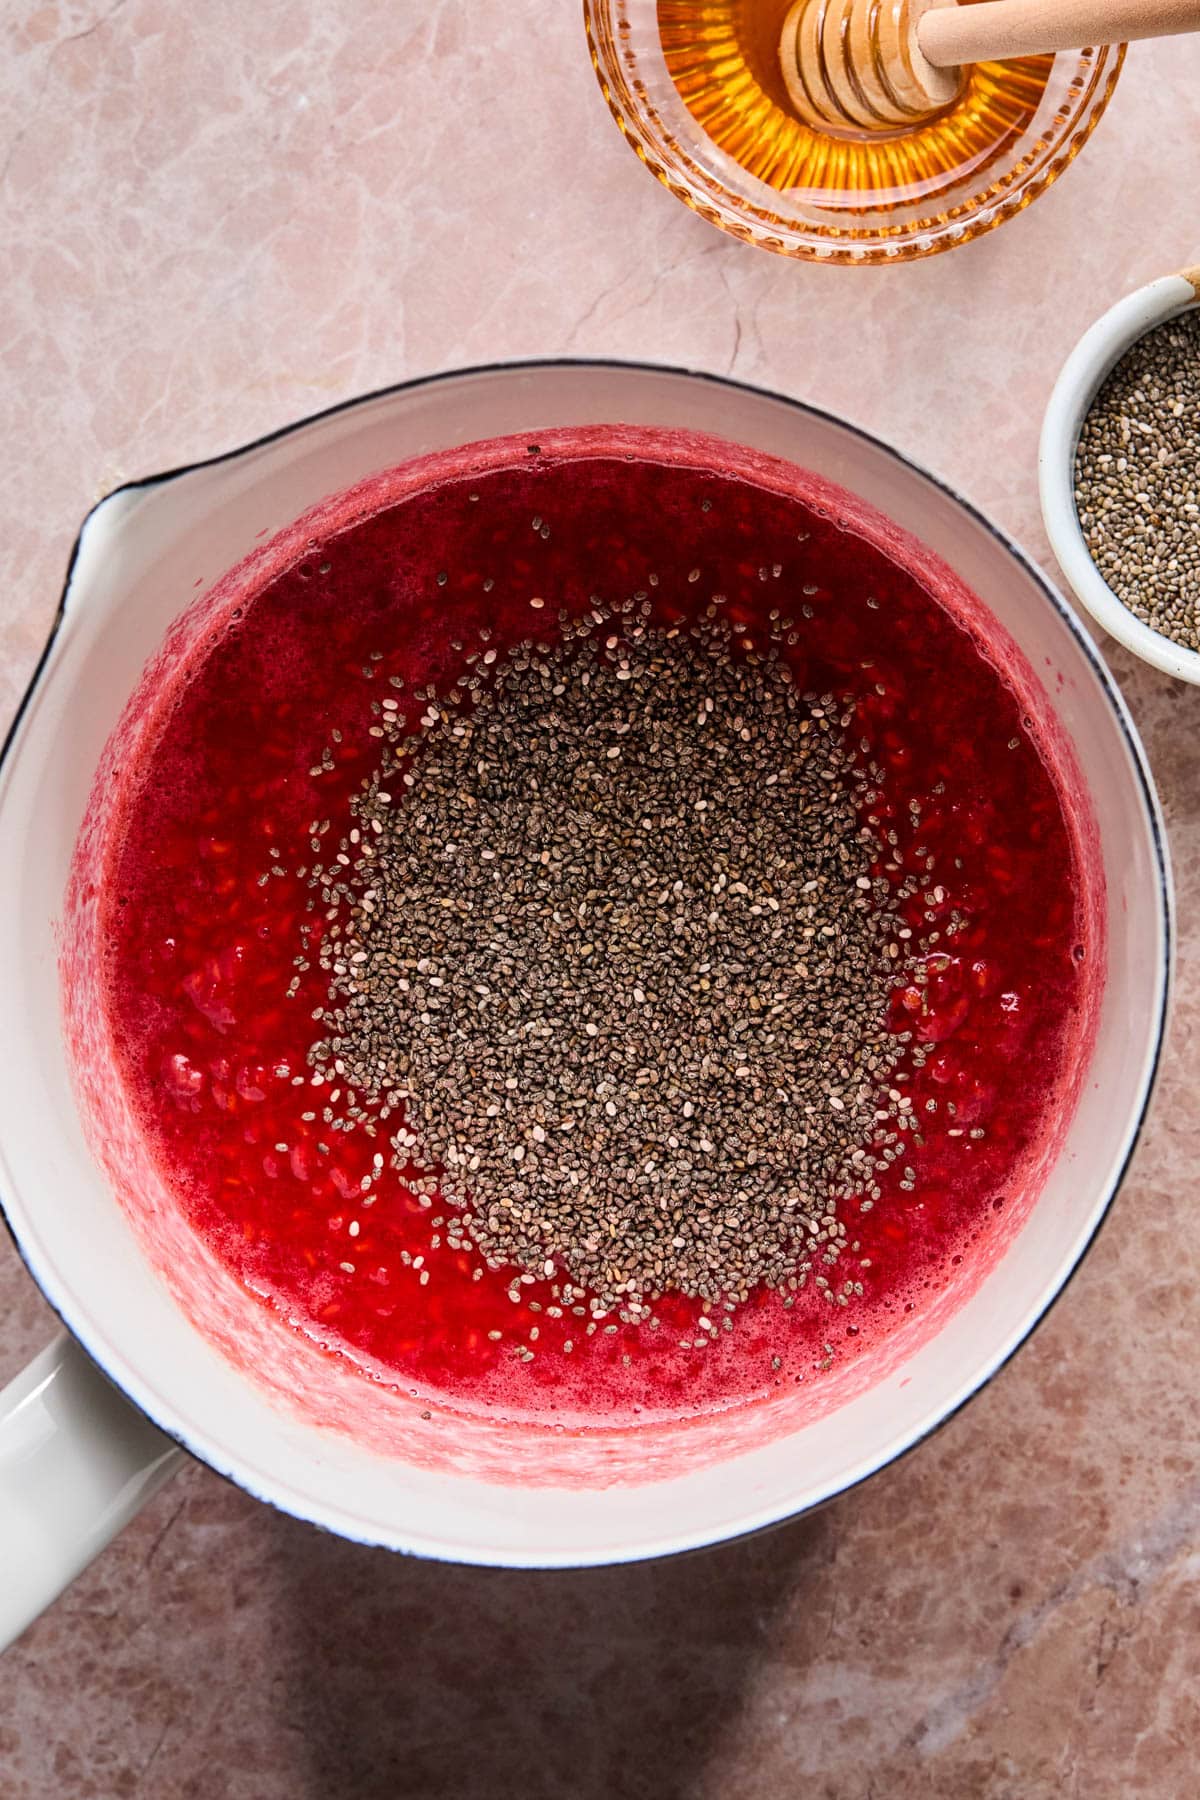
- Remove from the heat and stir in the chia seeds.
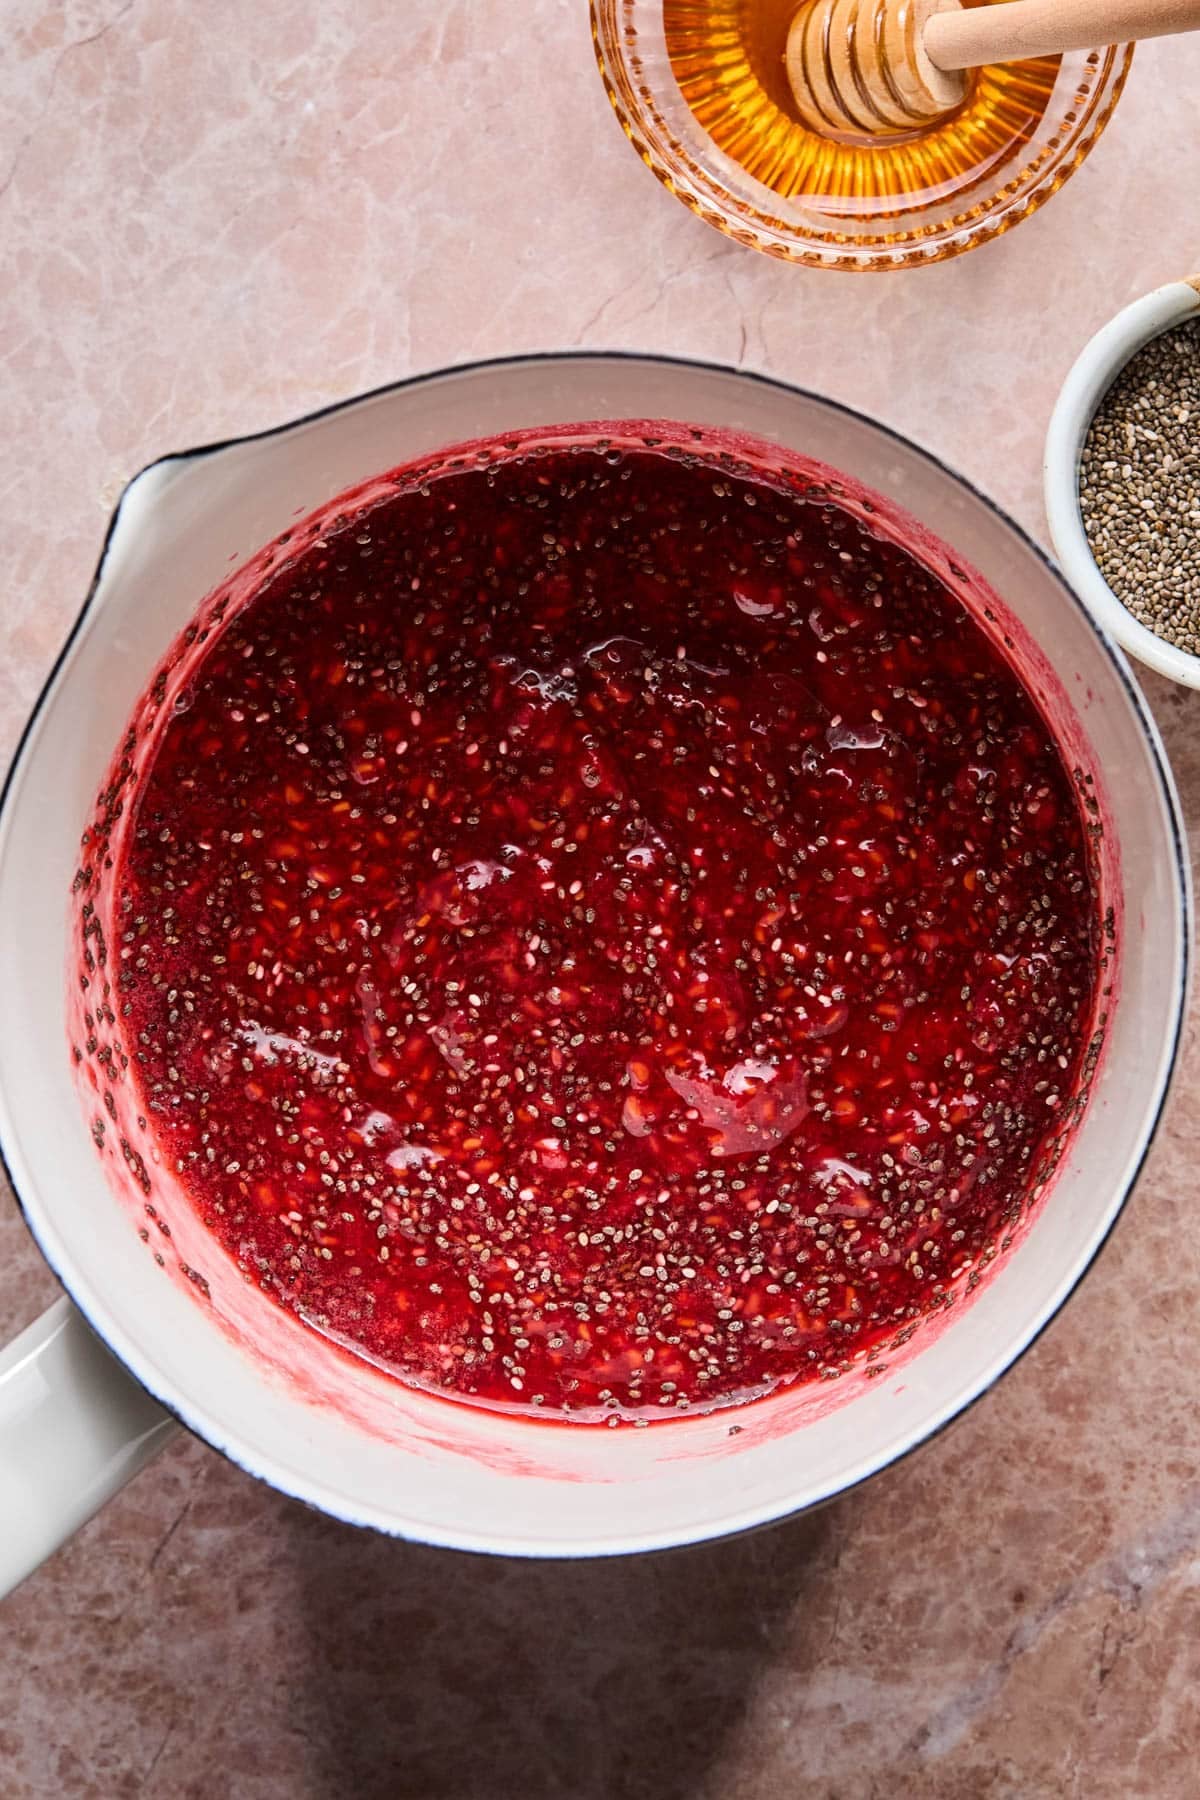
- Let it cool: Set aside the chia seed jam to cool.

- Melt the chocolate: Combine the chocolate chips and coconut oil in a microwave safe bowl. Microwave for 30 seconds, stir and microwave again in 20 second increments until completely melted (about 40-60 seconds total.)
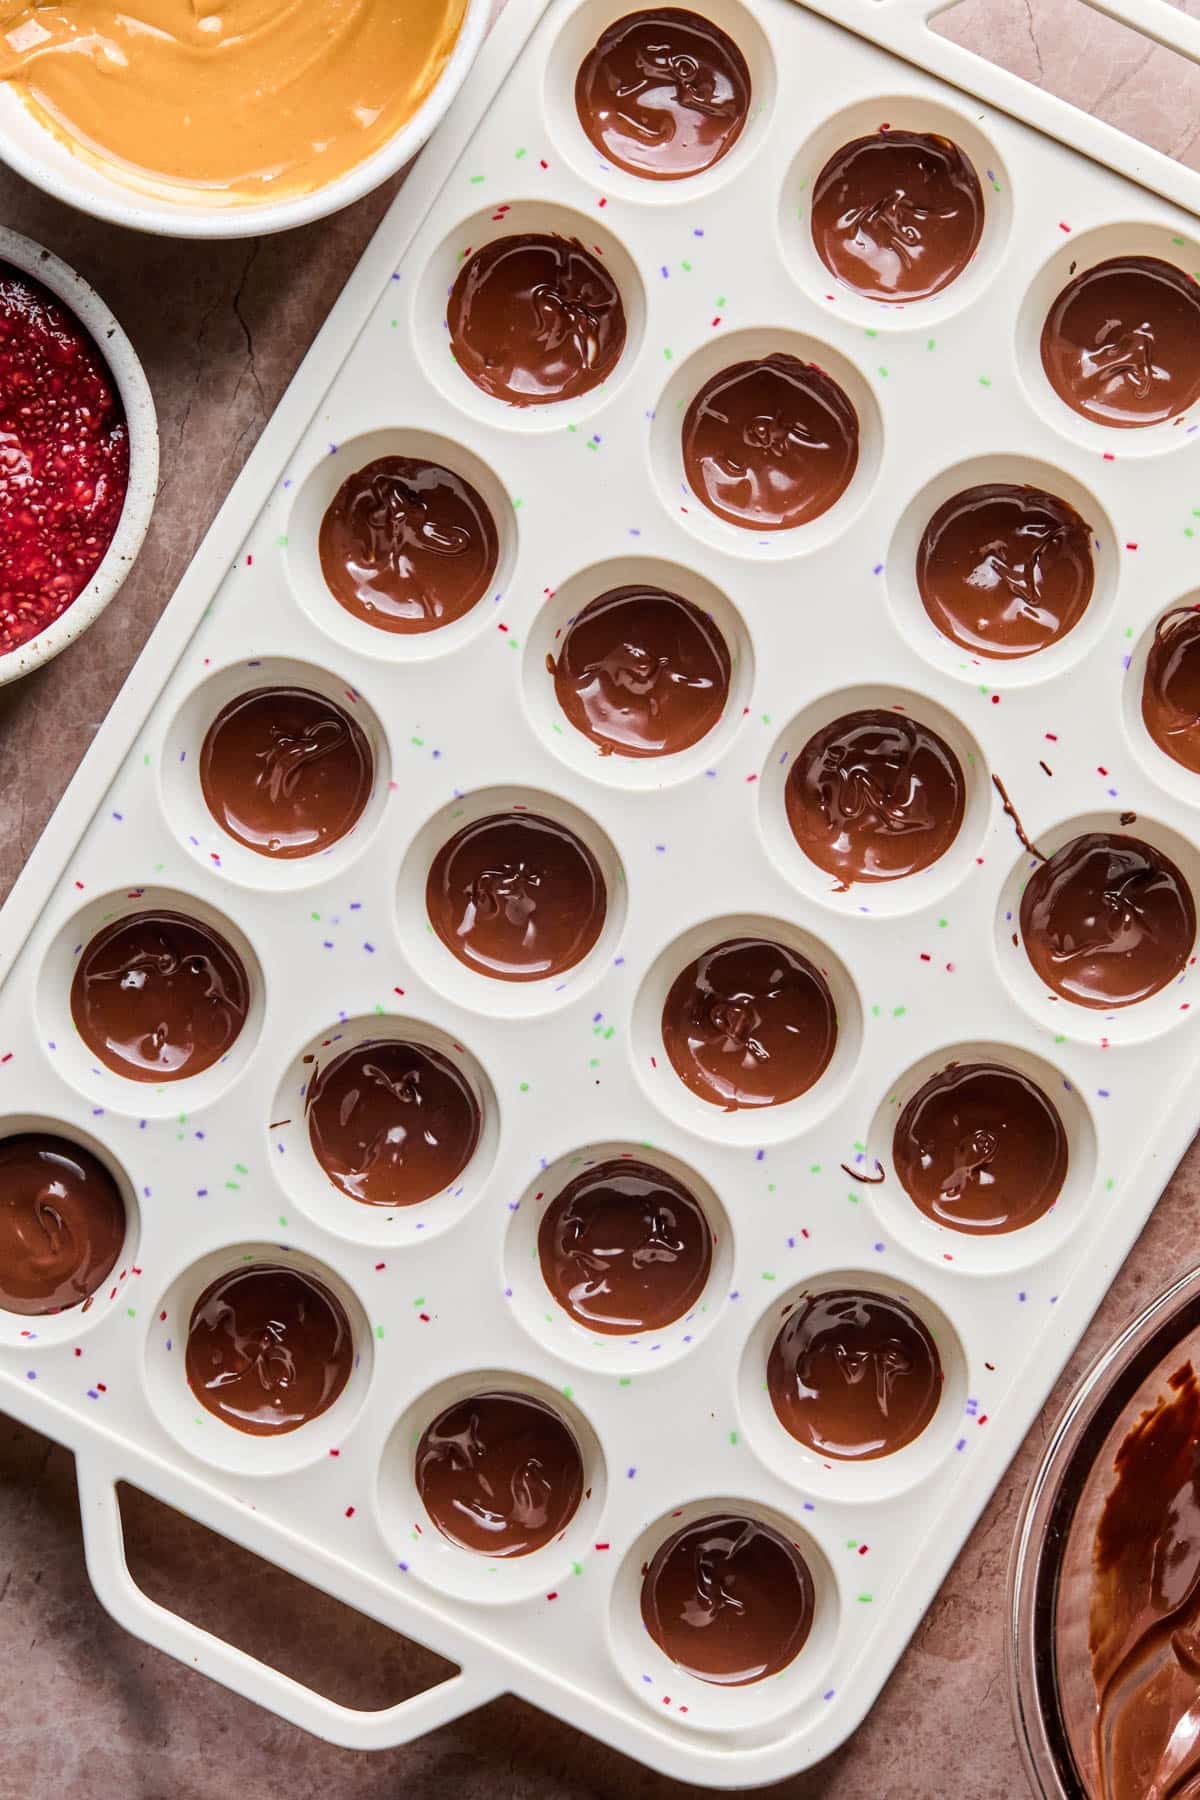
- Add ½ teaspoon of melted chocolate to each muffin cup. I use this silicone baking pan. Spread evenly on the bottom of the cup, and carefully spread a thin layer on the sides to create the chocolate “cup”.
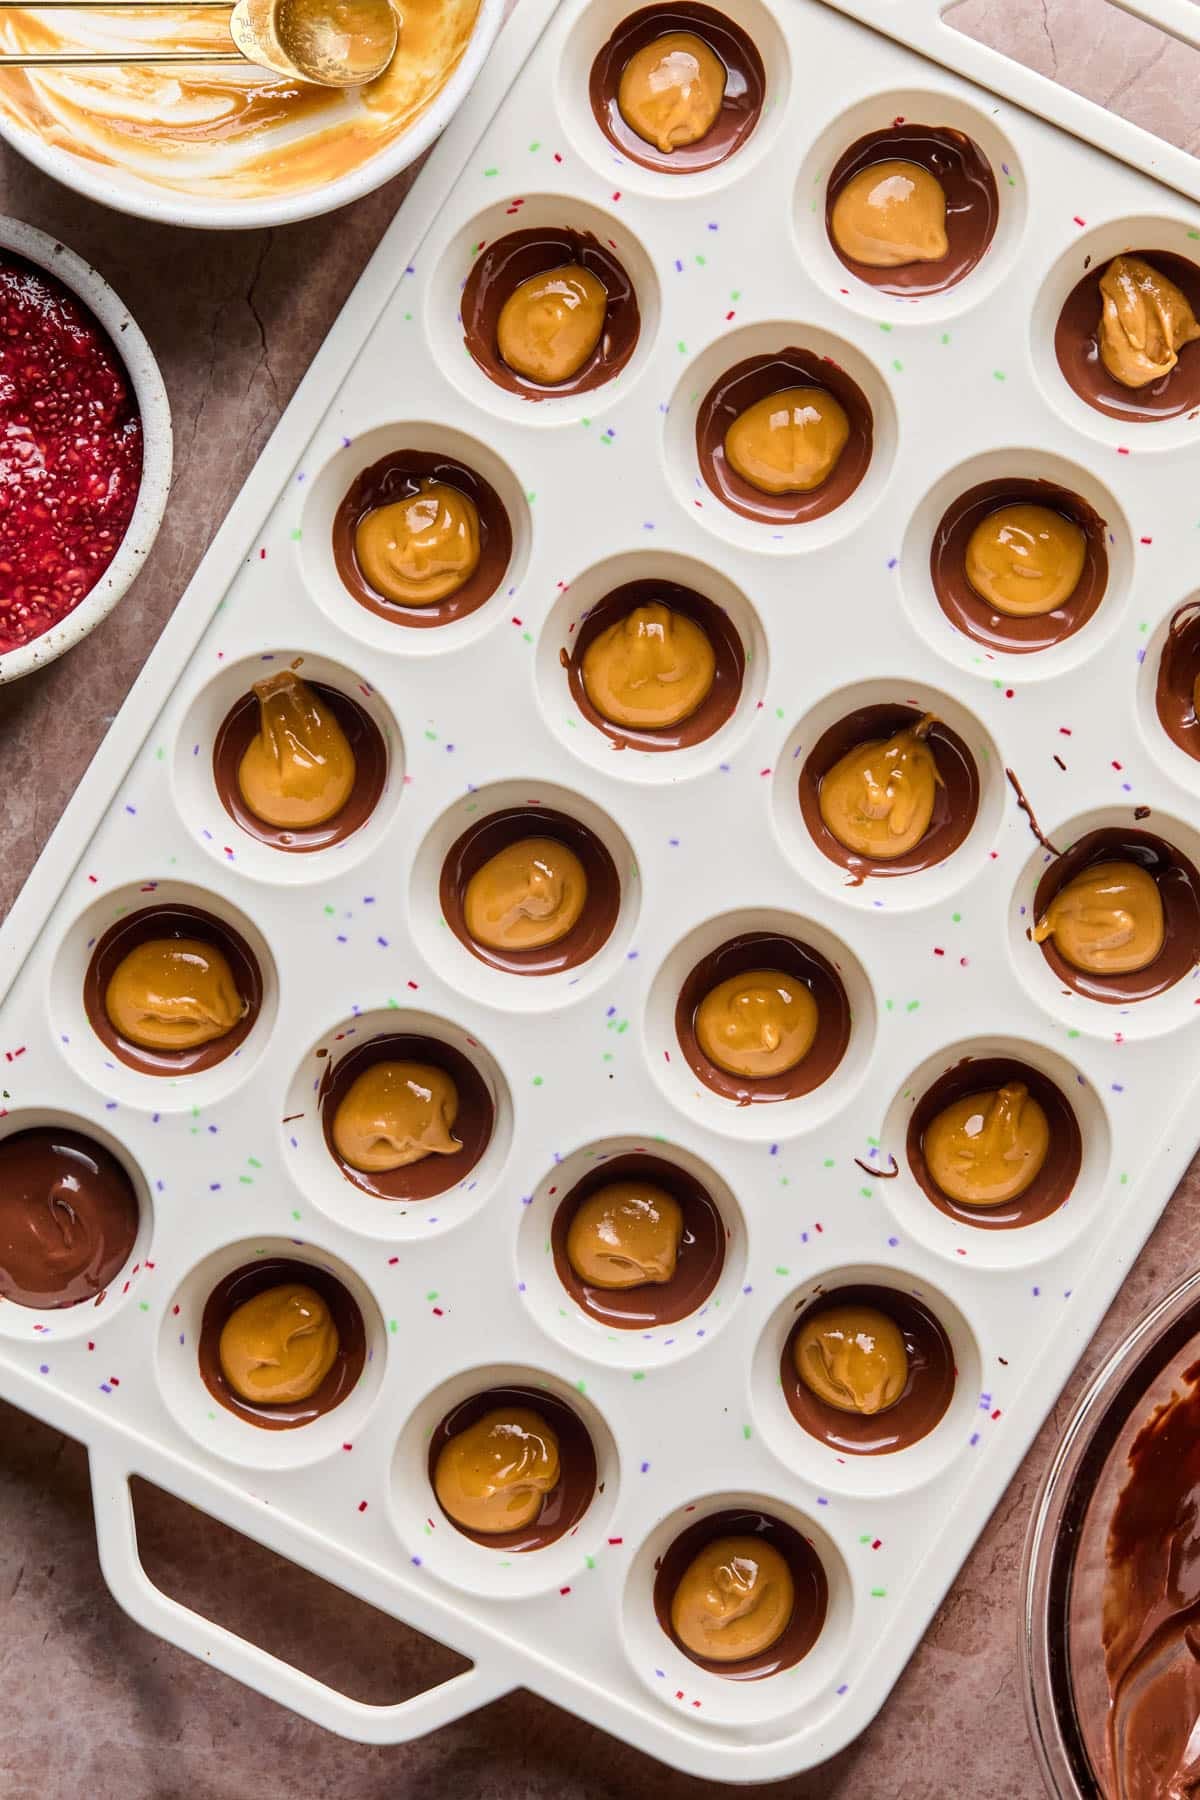
- Add the peanut butter to a microwave-safe dish and microwave 15-20 seconds until soft and smooth. Add ½ teaspoon peanut butter to the center of each cup.

- Add ½ teaspoon of the cooled jam to the center of each cup.
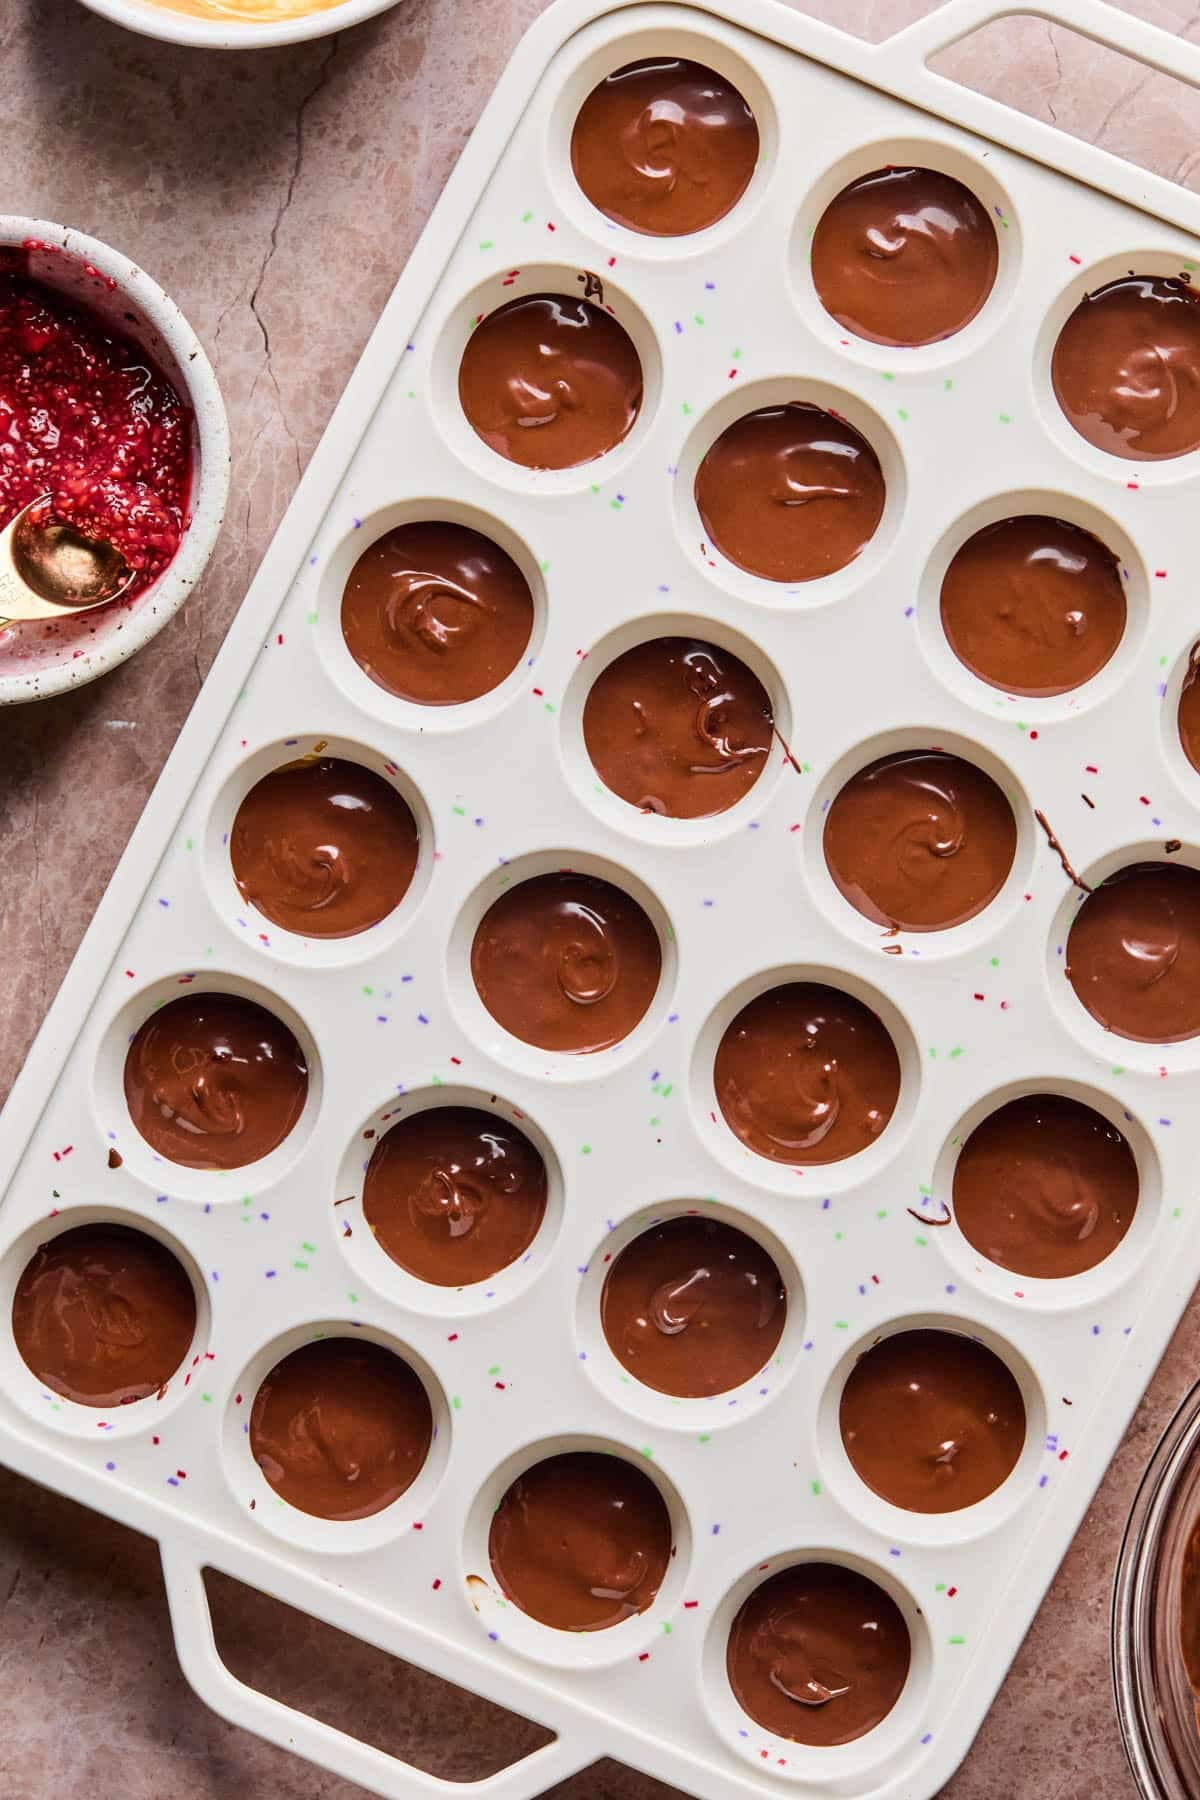
- Finish each cup by topping with 1 teaspoon additional chocolate. Smooth the tops with the back of a clean spoon. Refrigerate to set the cups for at least 1-2 hours before serving.
Jamie’s Tips
Expert Recipe Tips
- Don’t make the chocolate layer too thick. This ensures the flavors are balanced and the filling doesn’t spill out when you bite them.
- Use smooth peanut butter. This is important to create that classic peanut butter cup texture.
- Keep the peanut butter centered. This prevents leaking on the sides.
- Let the jam cool slightly. Otherwise the chocolate melts or mixes together with the peanut butter.
- Silicone liners work best. I use a silicone mini muffin pan to help the peanut butter cups pop out easily.
- Make-ahead. These no bake peanut butter cups are great to make ahead and keep in the fridge or freezer for an easy dessert or afternoon sweet treat.
How to Store
These peanut butter and jelly cups store really well, making them perfect to keep on hand for an easy sweet treat throughout the week.
Store the cups in an airtight container in the refrigerator for up to 1 week. They’re best enjoyed chilled, when the chocolate is firm and the peanut butter and jam layers are set.
To freeze: Store the PB&J cups in a freezer safe container for up to 2 months. I like to separate layers with parchment paper to prevent sticking.
Let the frozen cups sit at room temperature for a few minutes before eating so the chocolate softens slightly and the center becomes creamier.
Avoid storing at room temperature: The chocolate and filling soften quickly, especially in warmer kitchens, so refrigeration helps them keep their shape and texture.
More No-Bake Treats
If you’ve made and loved these Peanut Butter and Jelly Cups or any other recipe on my blog, please leave a 🌟 star rating and comments below!
Peanut Butter and Jelly Cups
Ingredients
Jam filling
- 2/3 cup fresh or frozen raspberries
- 1 1/2 tablespoon chia seeds
- 1 tablespoon honey, or maple syrup
Peanut butter layer
- 1/4 cup peanut butter
Chocolate layer
- 1 cup semisweet chocolate chips
- 2 teaspoon coconut oil
Instructions
- Add the raspberries and honey to a medium saucepan over medium heat. Bring to a simmer and cook, stirring constantly for about 5 minutes to prevent burning.
- Remove from the heat, stir in the chia seeds, and set aside.
- Combine the chocolate chips and coconut oil in a microwave-safe bowl. Microwave 30 seconds, stir, and microwave again in 20 second increments until completely melted (about 40-60 seconds total).
- Add the peanut butter to a microwave-safe bowl, microwave 15-20 seconds until soft and smooth (this makes it easier to add to cups).
- Next, add 1/2 teaspoon melted chocolate to each muffin cup. Spread evenly on the bottom of the cup, and carefully spread a thin layer on the sides to create the chocolate "cup".
- Next, add 1/2 teaspoon peanut butter and about 1/2 teaspoon jam to the center of each cup.
- Finish by topping with 1 teaspoon chocolate. Smooth the tops with the back of a clean spoon.
- Refrigerate to set the cups for at least 1-2 hours before serving.
Notes
- Let the jam cool slightly before assembling. Warm jam can melt the chocolate layers and make the cups harder to assemble.
- Don’t make the chocolate layers too thick. A thinner chocolate shell gives the cups a softer bite and keeps the flavors balanced.
- Silicone liners work best. They make it much easier to remove the cups cleanly once chilled.
- Store chilled for the best texture. The cups need to be stored in the fridge (they can also be frozen).
Nutrition
Nutrition information is automatically calculated and should only be used as an estimate.