This post may contain affiliate links. Please read our disclosure policy.
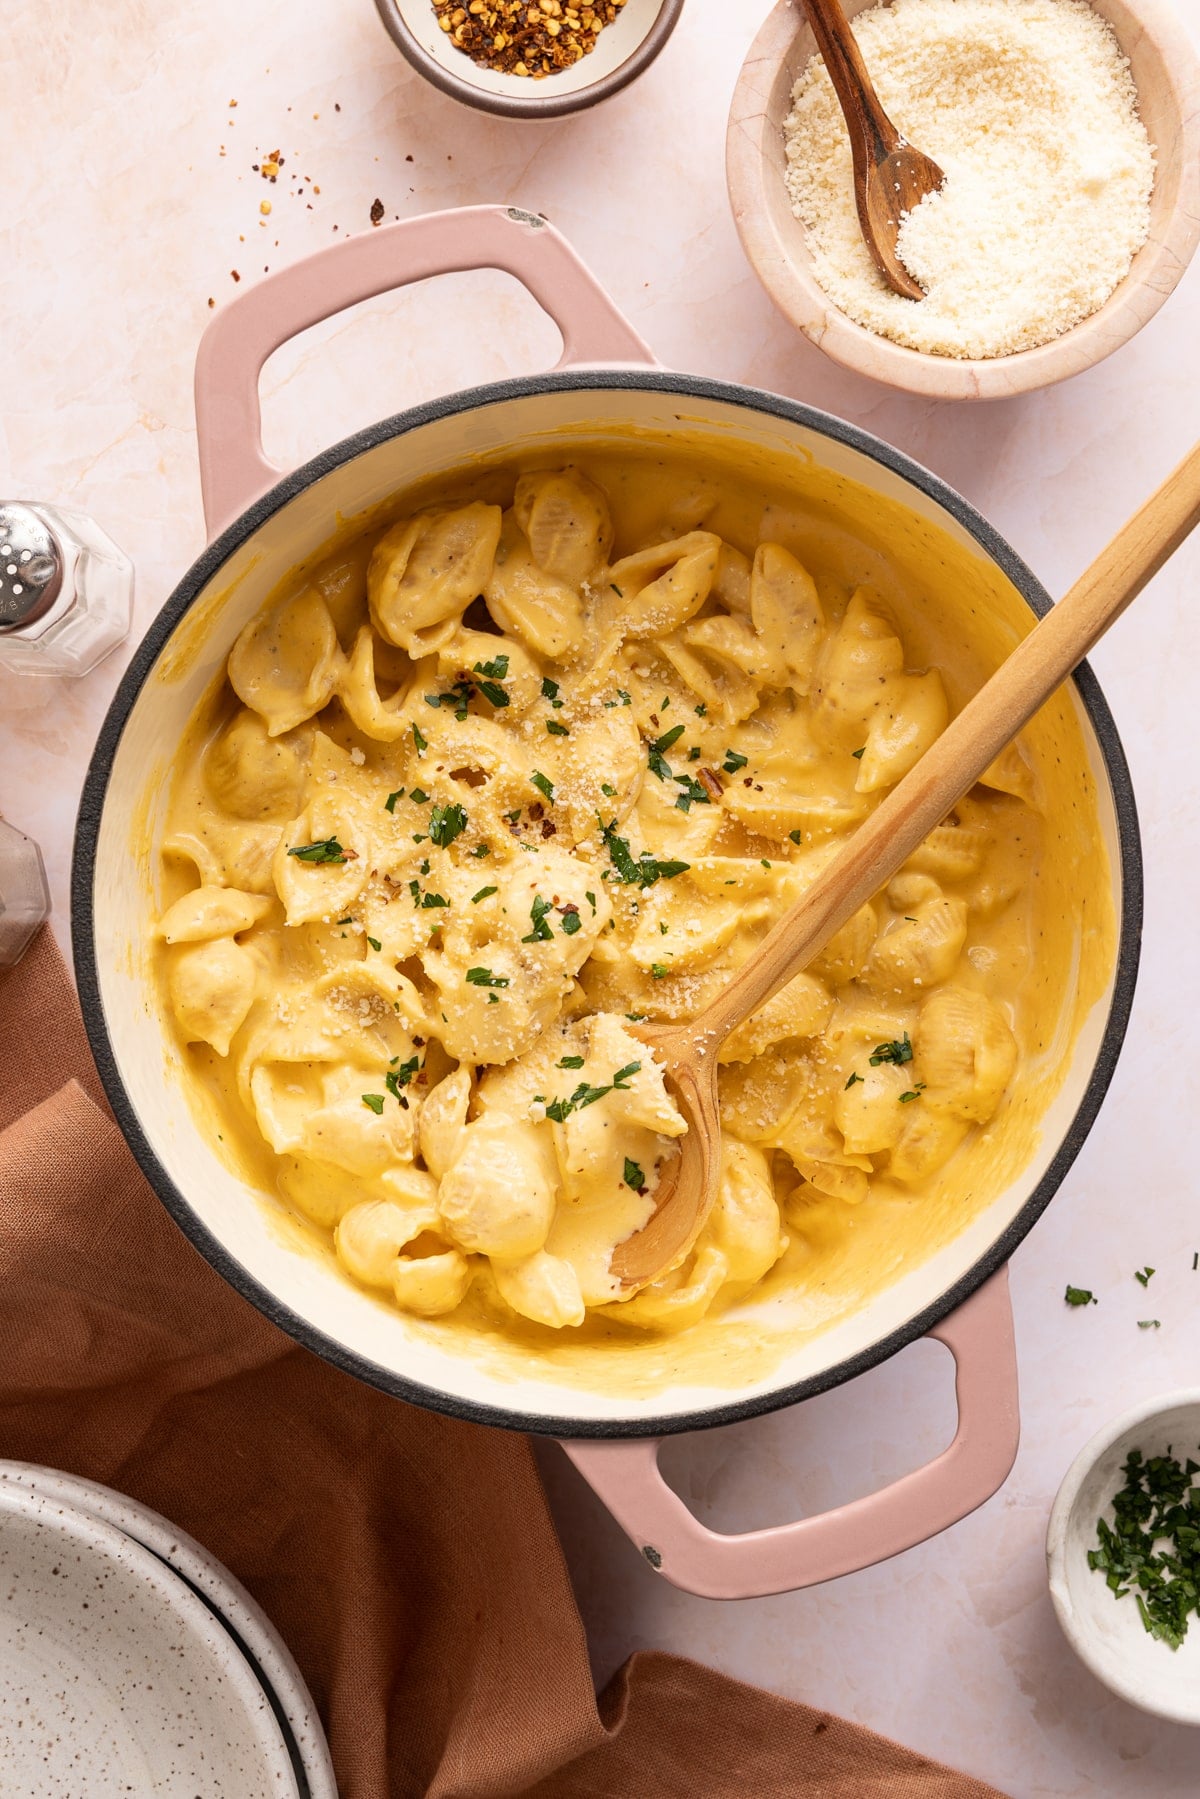
Velvety sharp cheddar sauce with a little sweetness and depth from roasted squash and garlic makes this Butternut Squash Mac and Cheese a cozy fall favorite. Each serving has 27 grams of protein from cottage cheese, cheddar, milk, and protein pasta. The roasted squash and cottage cheese blend completely smooth, creating a thick, creamy sauce without a roux, and it all comes together with one sheet pan, a blender, and a quick stovetop finish.
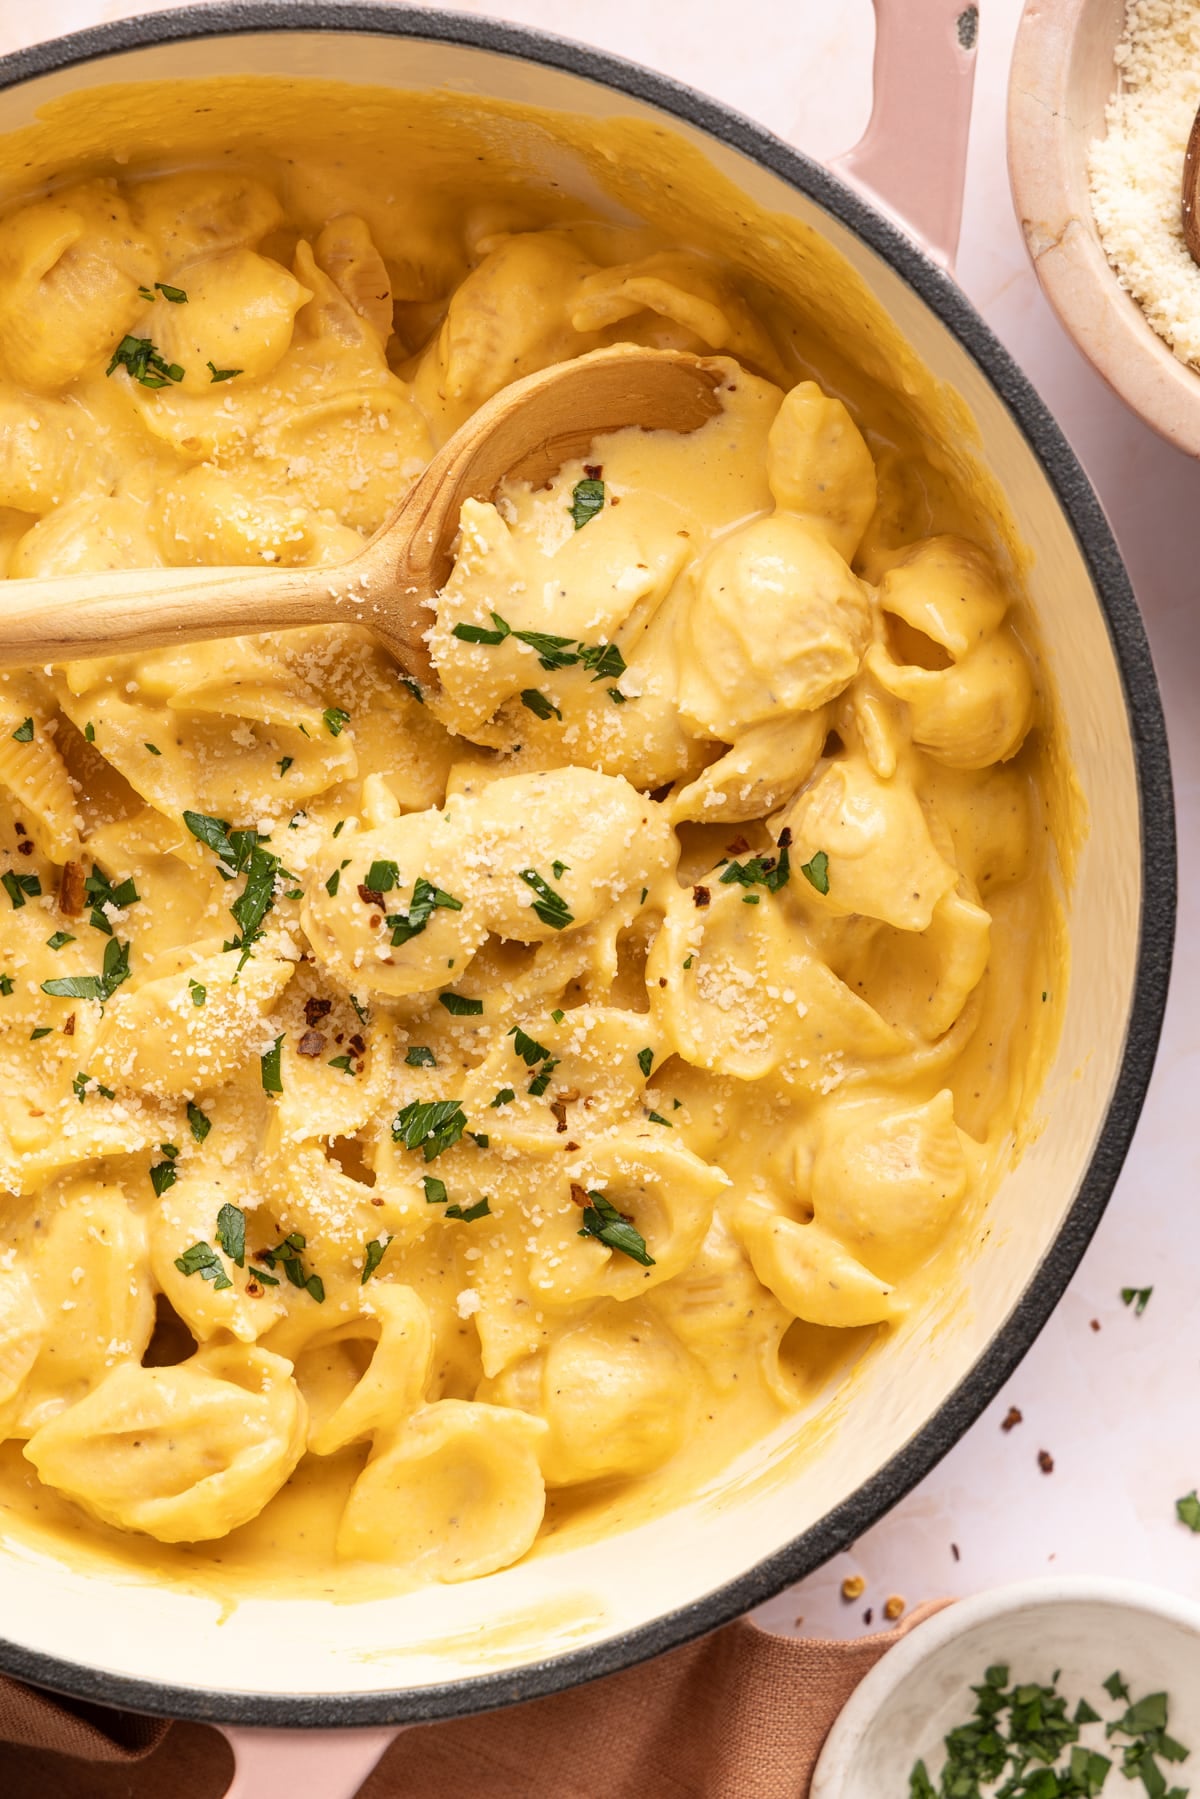
Table of Contents
Why My Butternut Squash Mac and Cheese Doesn’t Need a Roux
Most mac and cheese starts with a roux. You have to melt butter, whisk in flour, and slowly add milk until it thickens into a base for the cheese sauce. In my version, the roasted squash and cottage cheese does the thickening instead, making this recipe super easy.
Besides skipping the roux, here’s what else I love about it:
- The sauce is thick and creamy. Roasted butternut squash, cottage cheese and cheddar makes this sauce the perfect texture that you’d never guess was made with a cottage cheese base.
- 27 grams of protein per serving. Cottage cheese, cheddar, milk, and protein pasta add plenty of protein without needing meat, so it can work as either a meatless main dish or a hearty side.
- It still tastes like real mac and cheese. Sharp cheddar adds just the right amount of cheesiness to add to the creamy base.
- No second bake. Once the pasta and sauce are stirred together and warmed on the stovetop, it’s ready to eat. There’s no casserole dish or another round in the oven.
Ingredient Notes
A few ingredient choices make a noticeable difference in the flavor and texture of the sauce.
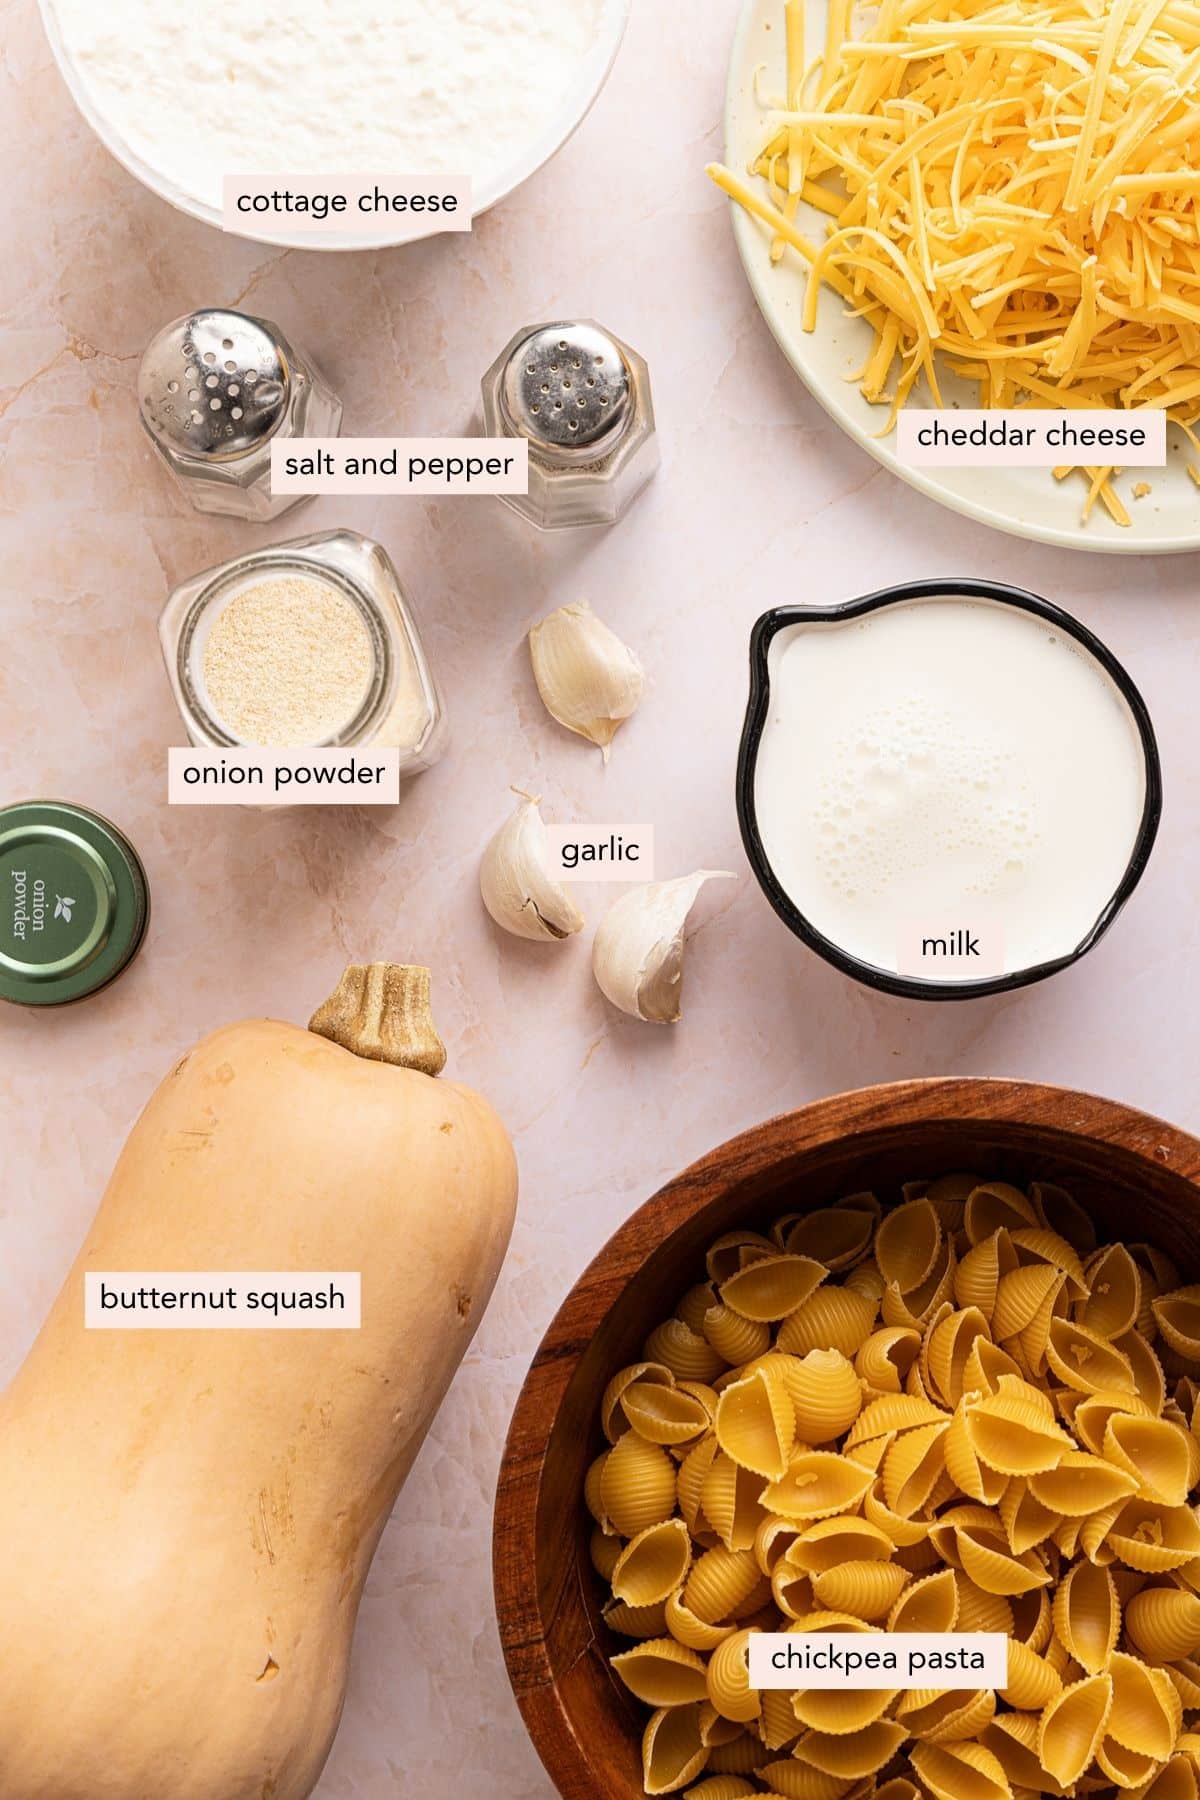
For full recipe instructions and complete list of ingredients, scroll down to the recipe card at the bottom of this page.
- Butternut squash: I use fresh cubed squash because roasting concentrates its slightly sweet flavor and gives the sauce a thick, silky base. Pre-cut fresh squash from the produce section is a great shortcut.
- Garlic: Use fresh whole cloves rather than jarred minced garlic. Whole cloves turn soft and mellow in the oven, while minced garlic can burn before the squash is done.
- Cottage cheese: I recommend full-fat or 2% cottage cheese for a richer, creamier sauce. Once it’s blended with the roasted squash, the curds completely disappear into the sauce.
- Sharp cheddar: Sharp cheddar gives the sauce enough cheese flavor to stand up to the mild squash and cottage cheese. I also recommend shredding it from a block for the smoothest melt.
- Chickpea or protein pasta: I love Barilla chickpea pasta, Banza chickpea pasta, or Barilla Protein Plus elbows for extra protein. Chickpea pasta adds fiber and a slightly nutty flavor, while Protein Plus tastes more like regular pasta. Regular pasta works too, but you’ll get less protein. Shells and elbows are my favorites because they hold onto all that sauce.
How to Make Butternut Squash Mac and Cheese
Grab a sheet pan, a large pot, and a food processor or high speed blender:
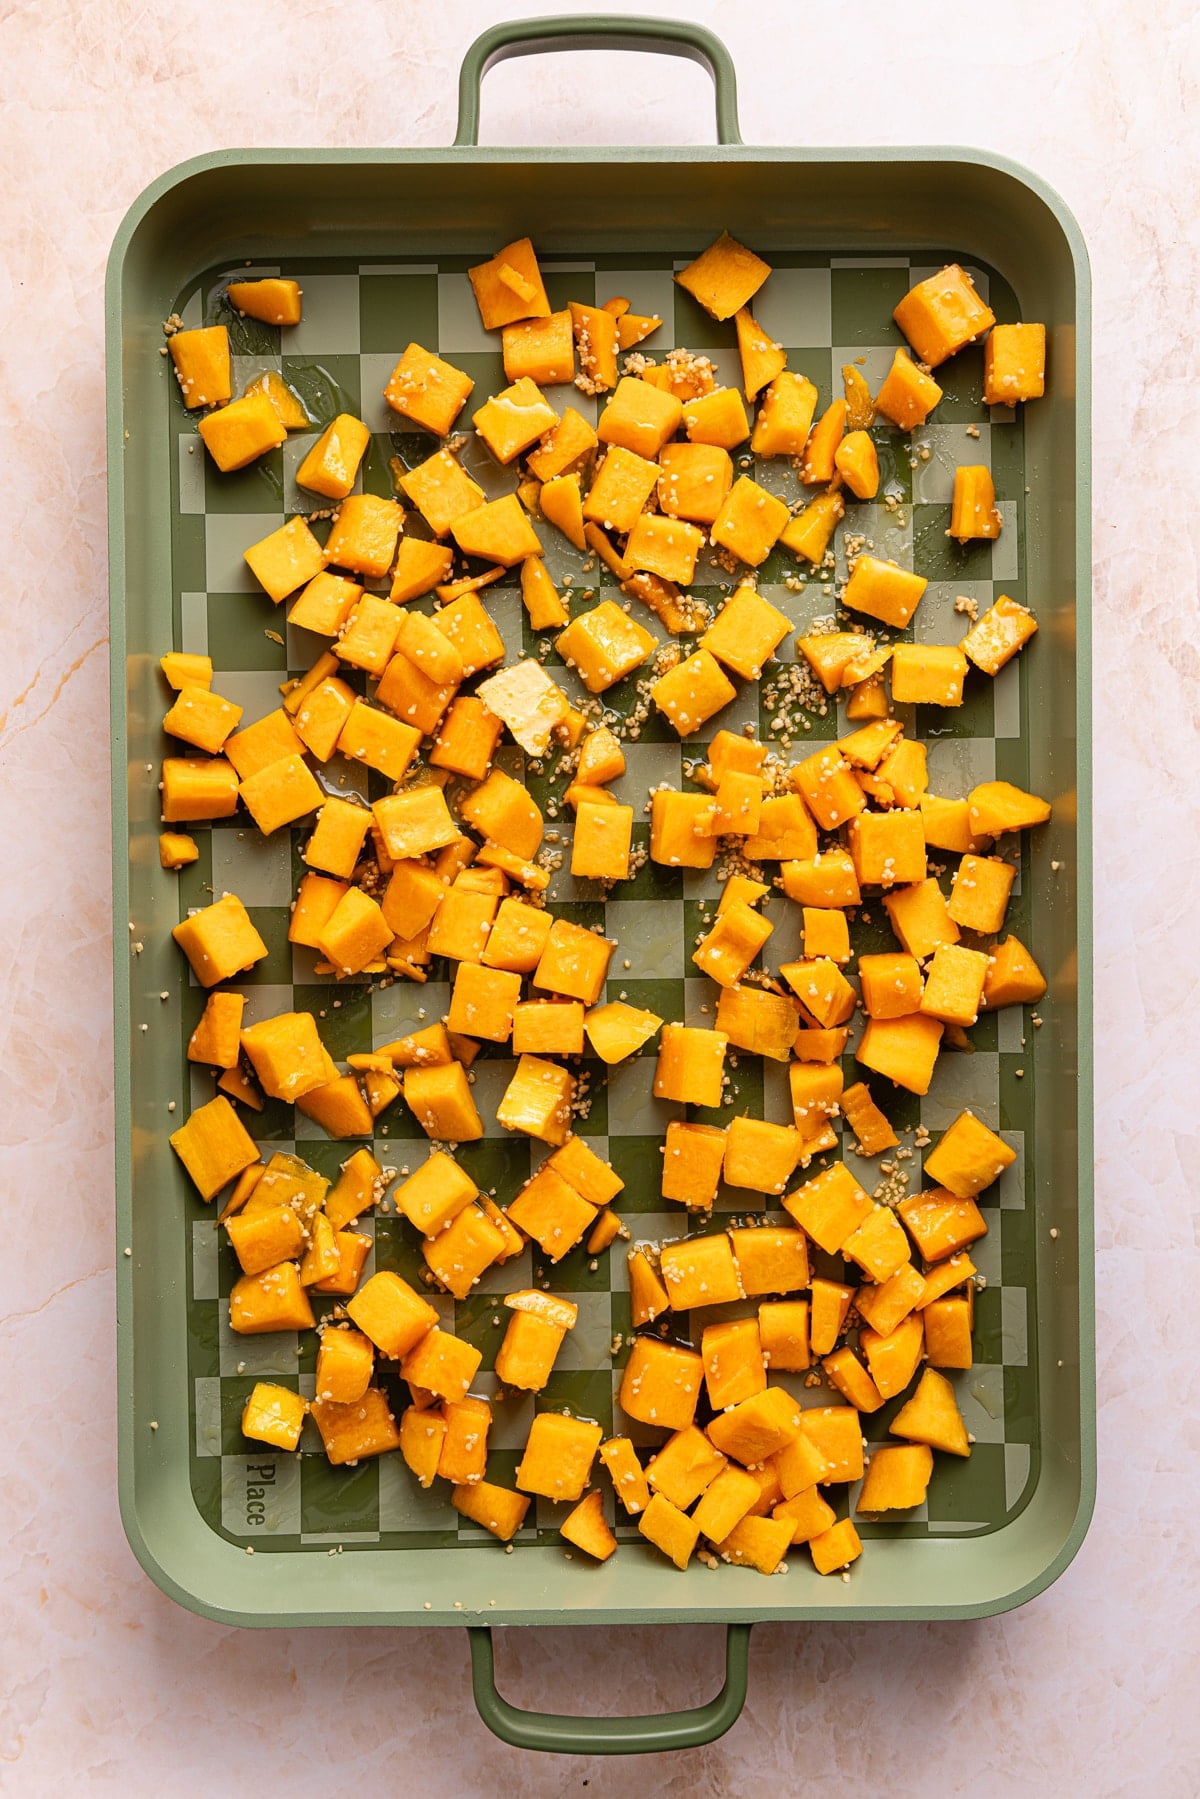
- Roast the squash and cook the pasta: Heat the oven to 400°F and line a baking sheet with parchment. Toss the squash and garlic with olive oil and roast for 22-25 minutes, until the squash smashes easily with a fork. Note: I used minced garlic here, but highly recommend using whole garlic instead. When the squash has about 10 minutes left, bring a large pot of water to a boil and cook the pasta according to the package directions. Drain and set aside.
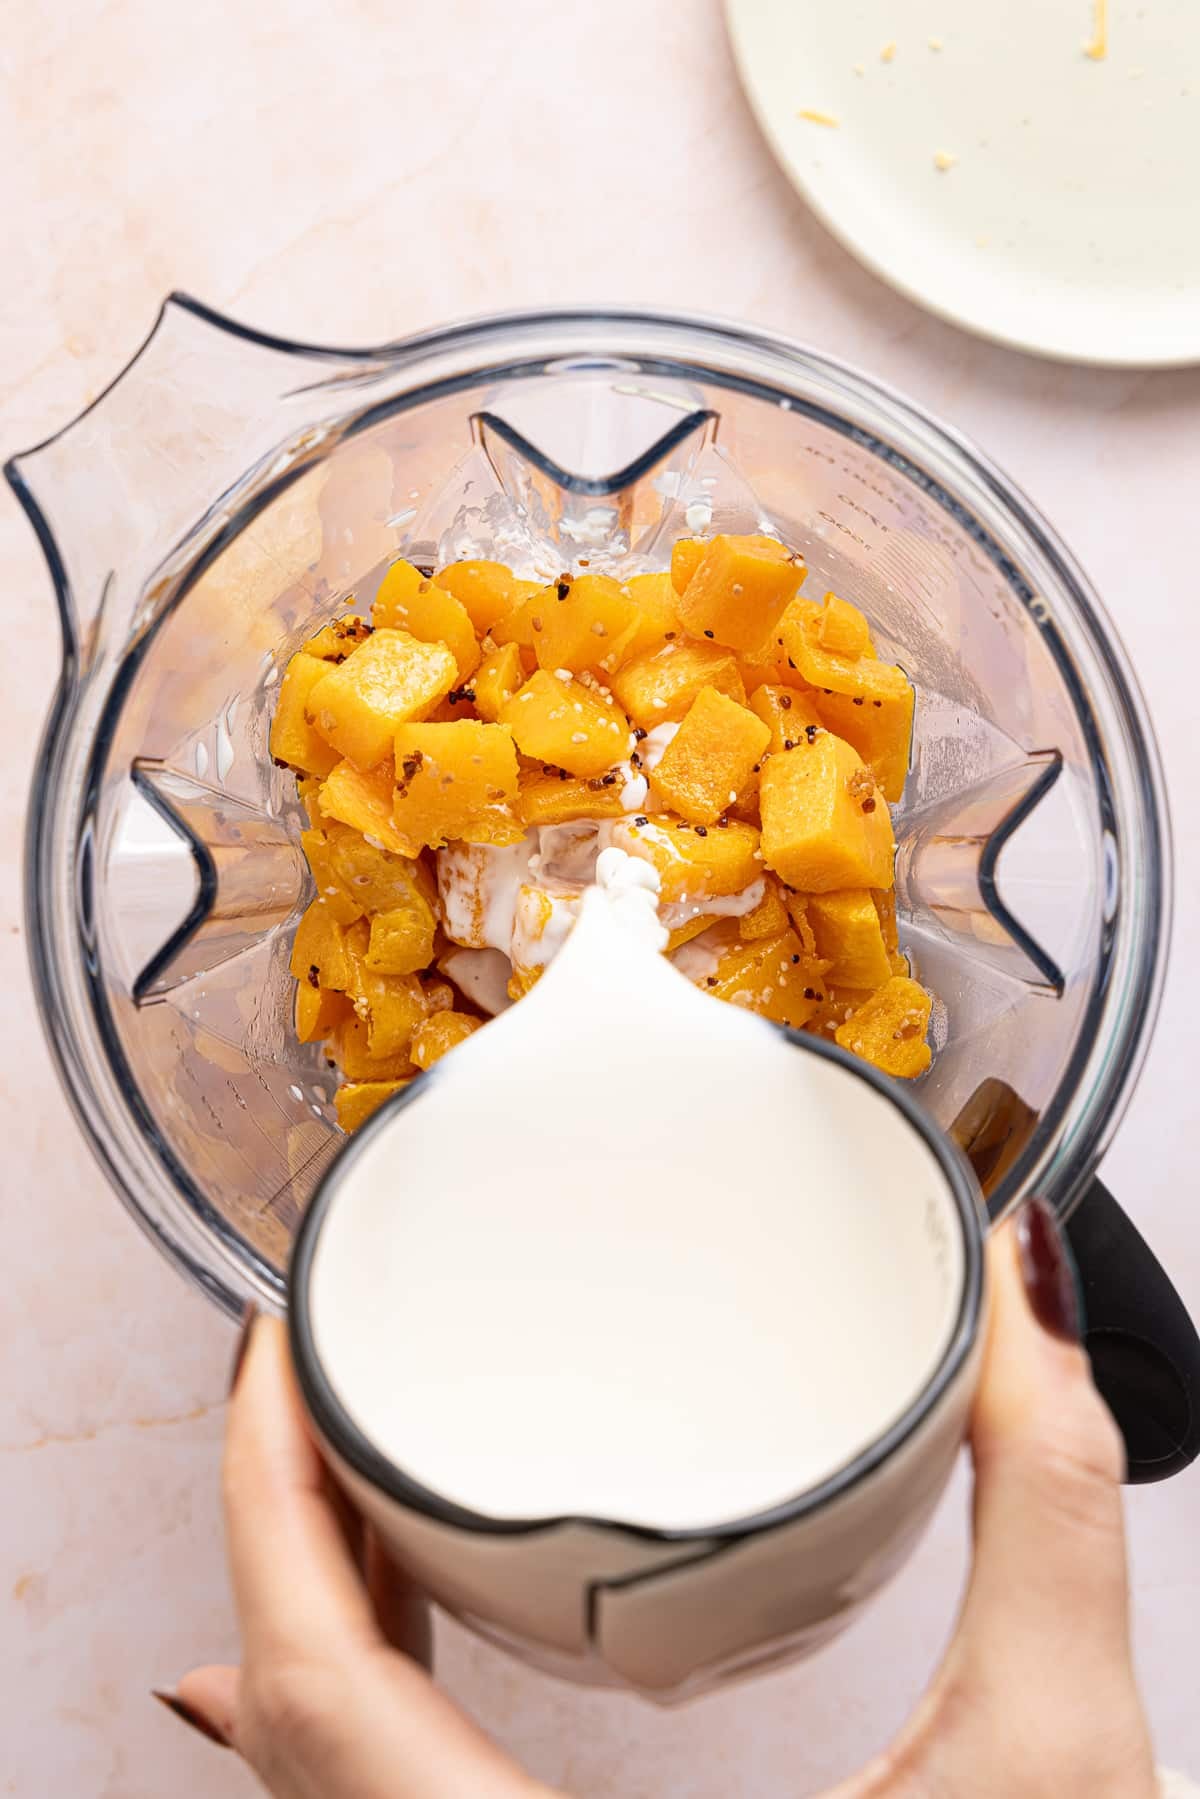
- Blend the sauce: Add the hot squash and garlic to the food processor or blender with the cottage cheese, cheddar, milk, onion powder, salt, and pepper. Blend on high until completely smooth, scraping down the sides as needed. Give the sauce a taste and add a pinch more salt if it needs it.
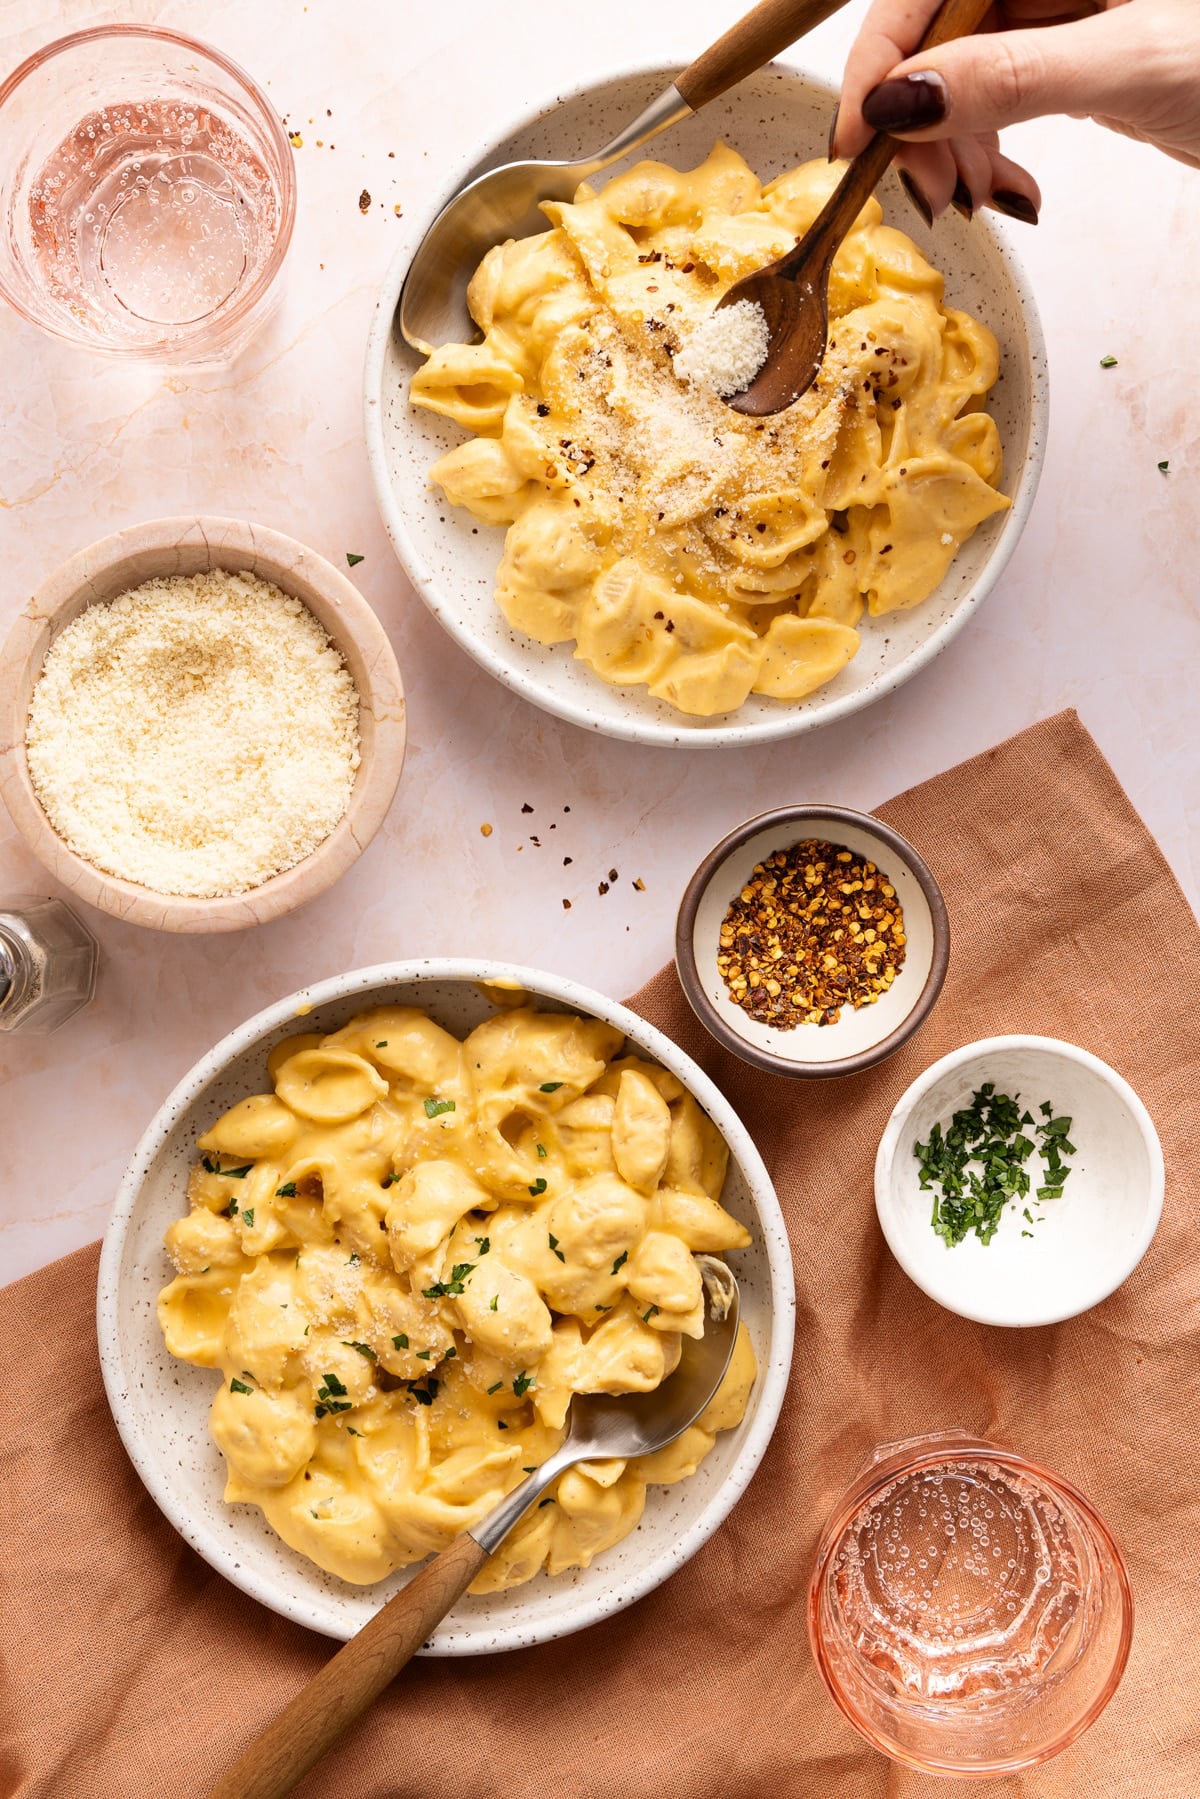
- Combine everything and serve. Add the pasta back to the pot, pour the sauce over the top, and set the heat to low-medium. Stir until it’s heated through. I like to top mine with parmesan, fresh herbs, and a pinch of red pepper flakes. The salty parmesan and a little heat balance the slight sweetness of the squash.
Jamie’s Tips
My Tips for the Creamiest Mac and Cheese
This sauce is simple, but a few small details make a big difference in the final texture.
- Roast the squash until it’s very soft. Tender isn’t quite enough here. If a fork doesn’t smash it easily, give it a few more minutes, since underdone squash won’t blend fully smooth.
- Blend until completely smooth. Make sure to blend your sauce as much as it needs to make it smooth and creamy. I find about a minute of blending does the trick.
- Don’t overcook your pasta. Chickpea pasta can be delicate and fall apart if it’s overcooked, so make sure to keep an eye on the timer and pull it as soon as it’s ready.
- Keep the final heat gentle. Once the cheese sauce goes back into the pot, avoid high heat. Low to medium-low heat and gentle stirring help keep the cottage cheese and cheddar sauce smooth instead of grainy or separated.
Make It a Full Meal
With 27 grams of protein per serving, this mac and cheese can stand on its own as a meatless meal. When I serve it as a side, I like pairing it with something savory or tangy to balance the creamy, slightly sweet squash sauce.
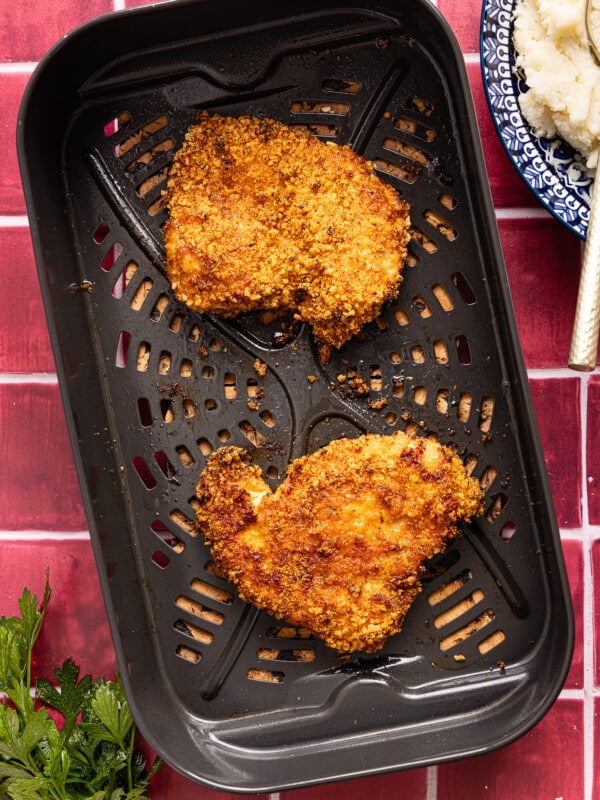
My air fryer chicken cutlets are are one of my favorite pairings because the crispy Parmesan-panko coating is such a good contrast to the creamy pasta. For a vegetable side, feta and balsamic brussels sprouts add browned edges and plenty of tang to cut through the rich cheese sauce.
Make Ahead and Storage
The sauce thickens as it chills, but a little milk brings it right back to a creamy consistency when reheating.
- Make ahead: Roast the squash and blend the sauce up to 3 days ahead, then keep it in the fridge. When you’re ready to eat, cook the pasta and warm everything together over low heat.
- Store: Keep leftovers in an airtight container in the fridge for 3-4 days.
- Reheat: Warm it on the stovetop over low heat or in the microwave in short bursts, stirring in between. The sauce thickens in the fridge, so add a splash of milk to loosen it back up.
- Freeze: For the best texture, freeze just the sauce in a freezer-safe container for up to 2-3 months and thaw it overnight in the fridge. You can freeze cottage cheese sauces but keep in mind that the texture won’t be exactly the same. Chickpea pasta tends to turn soft after thawing, so cook a fresh batch when you’re ready to serve.
More Cottage Cheese Pasta Recipes


If you’ve made and loved this Butternut Squash Mac and Cheese or any other recipe on my blog, please leave a 🌟 star rating and comments below!
High Protein Roasted Butternut Squash Mac and Cheese
Ingredients
- 12 ounces chickpea pasta shells or elbows, (or protein pasta)
- 1 tablespoon olive oil
- 3 cups butternut squash, cubed
- 3 garlic cloves
- 1 1/2 cups sharp cheddar cheese, shredded
- 1 cup cottage cheese, full fat or 2% recommended
- 1/2 cup milk
- 1/2 teaspoon onion powder
- 1/2 teaspoon salt
- 1/4 teaspoon ground black pepper
- Topping ideas: parmesan cheese, fresh herbs, red pepper flakes, freshly cracked black pepper
Instructions
- Preheat oven to 400 degrees.
- Line a baking sheet with parchment paper. Add butternut squash and garlic to the sheet pan. Toss with olive oil and coat evenly. Bake for 22-25 minutes until the squash is easily smashed with a fork.
- When the butternut squash has about 10 minutes left, bring a large pot of water to a boil and cook pasta according to package directions. Drain and set aside.
- Add roasted butternut squash and garlic, cheddar cheese, cottage cheese, milk, onion powder, salt, and pepper to a food processor or blender. Blend on high speed until completely smooth, scraping down the sides as needed. Taste test and add additional salt if needed.
- Add the cooked noodles back to the large pot and pour cheese sauce on top. Heat to low-medium, stirring gently until all noodles are coated with cheese sauce and the macaroni and cheese is heated through. Note: Heat slowly to avoid the sauce breaking apart.
Notes
- Pasta timing: Protein and chickpea pastas can soften quickly, so start checking at the end of the package cooking time.
- Adjust the consistency: The sauce thickens as it sits. Stir in a splash of milk if you want to loosen it before serving or reheating.
- Make ahead: The sauce can be prepared separately ahead of time and refrigerated, then gently warmed with freshly cooked pasta.
- Storage: Refrigerate leftovers in an airtight container for 3-4 days. Reheat gently and add a little milk as needed to bring back the creamy texture.
Nutrition
Nutrition information is automatically calculated and should only be used as an estimate.
Food photography by Marie-Catherine Dubé.